|
|||||||
|
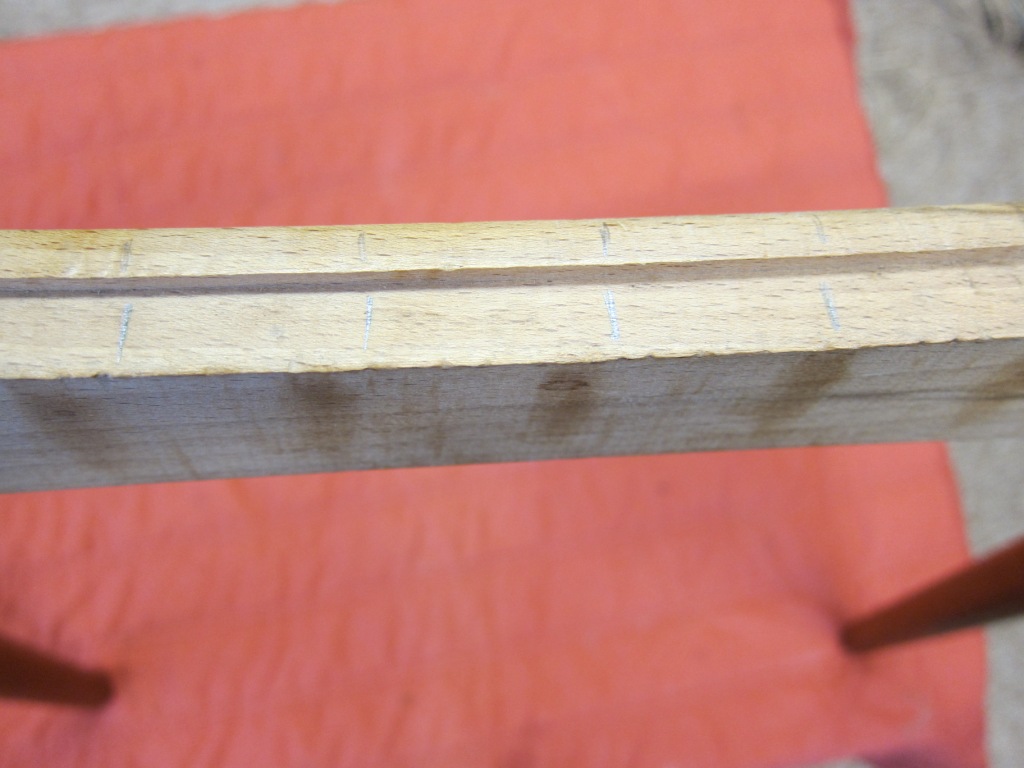
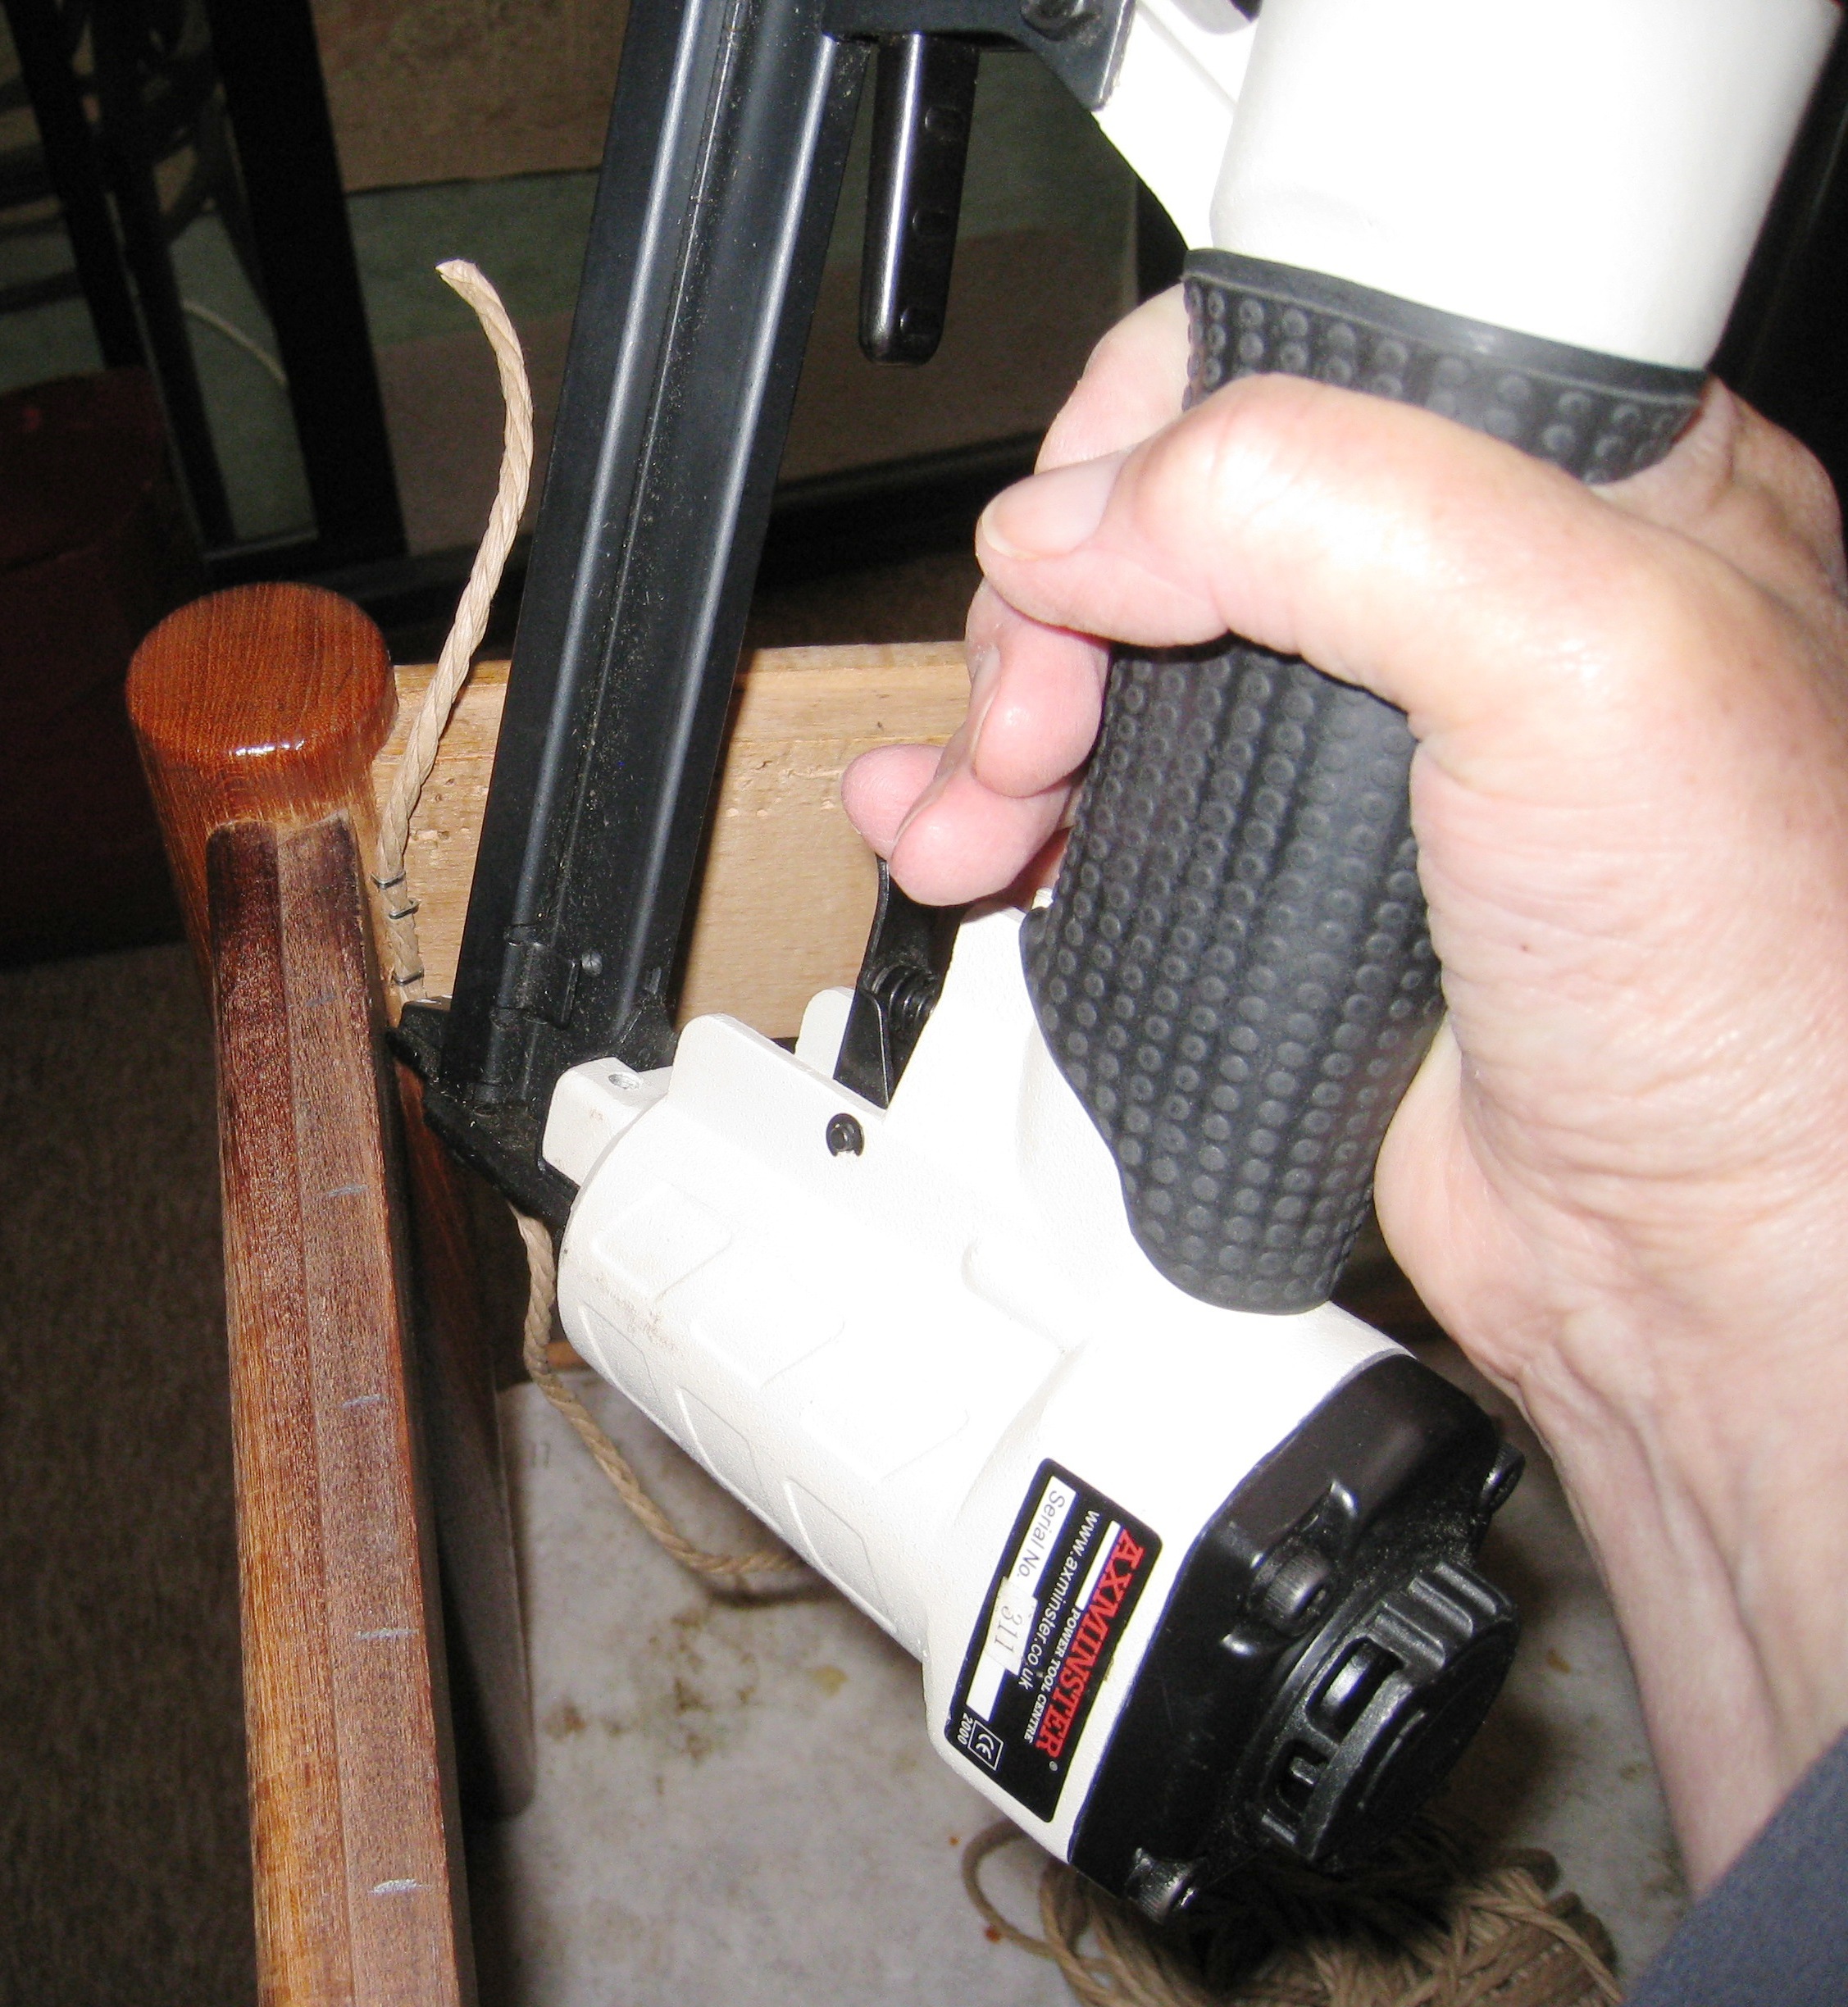
How to re-staple Danish cord instead of replacing with L nails If you have a compressor or good electric stapler, it is not necessary to put in L nails to enable re-cording. It is best to use a narrow crown stapler and narrow crown staples. We use 5.1mm wide x 16mm 'legs' - AT410 from Axminster Tools. Staplers and compressors also available from Axminster Of course, if the nails are original, stick with them and only replace those which are not strong enough to reuse!
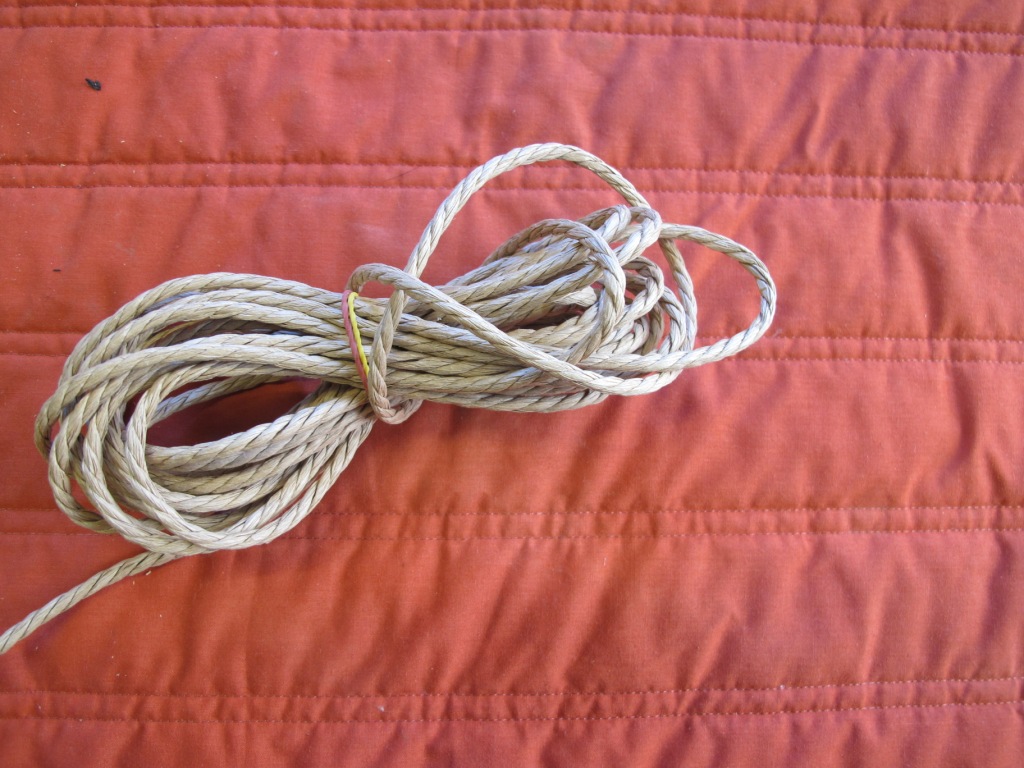
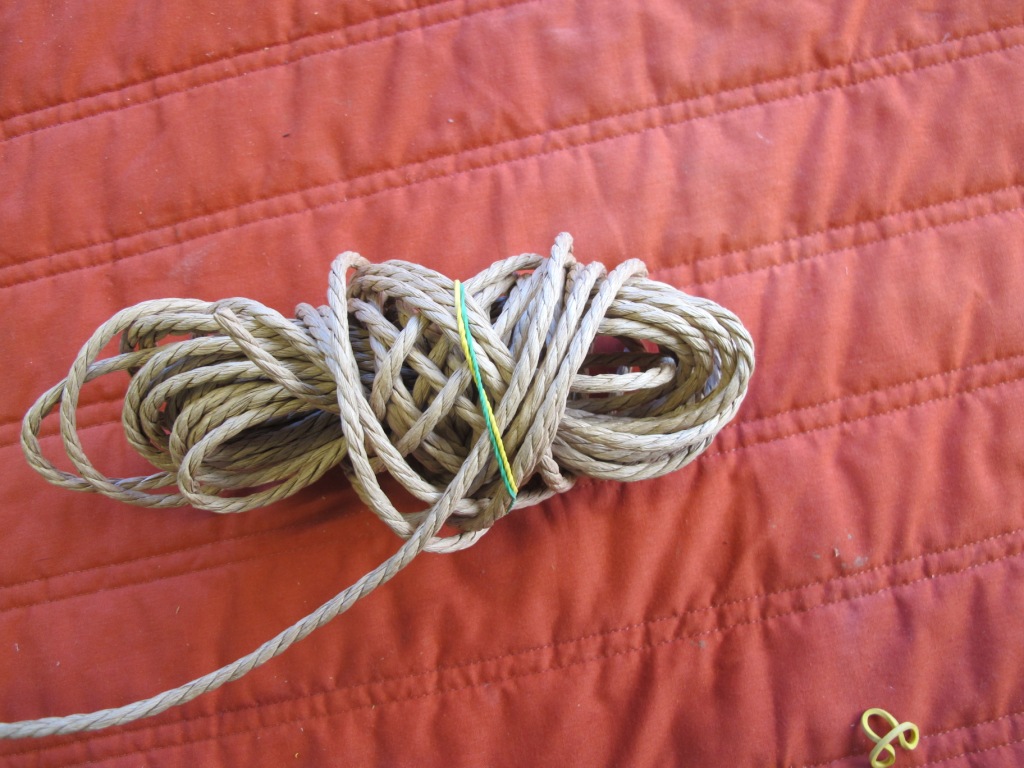
Have now added the 1st part, which is how to do the wefts with the looping method. Apologies for this just being the photos at the moment. Will add some words at a later date.
|
||
 |
 |
 |
 |
 |
 |
 |
 |
 |
 |
 |
 |
 |
 |
 |
 |
 |
 |
 |
 |
 |
 |
 |
 |
 |
 |
 |
 |
 |
 |
 |
 |
 |
 |
 |
 |
 |
||
|
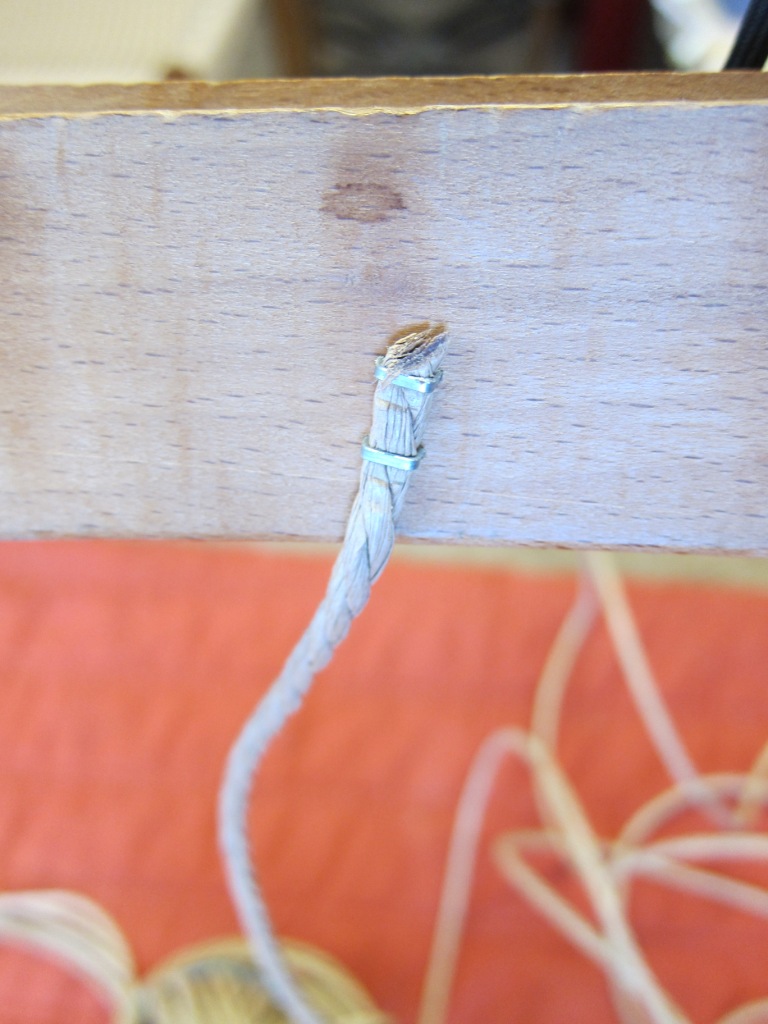
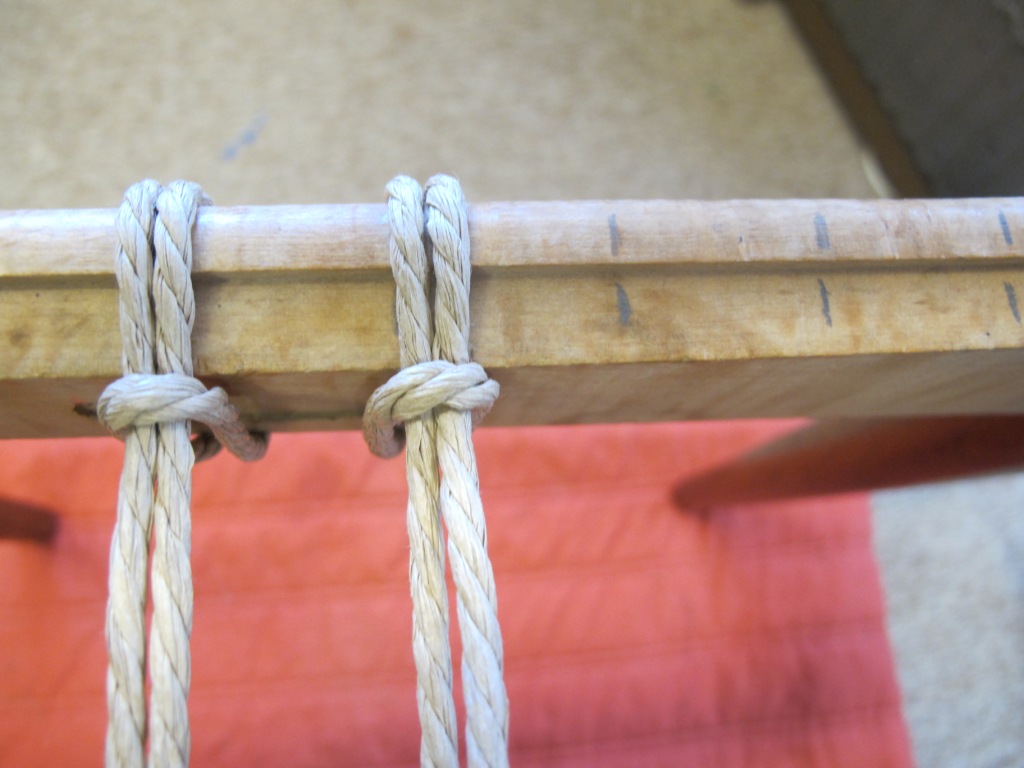
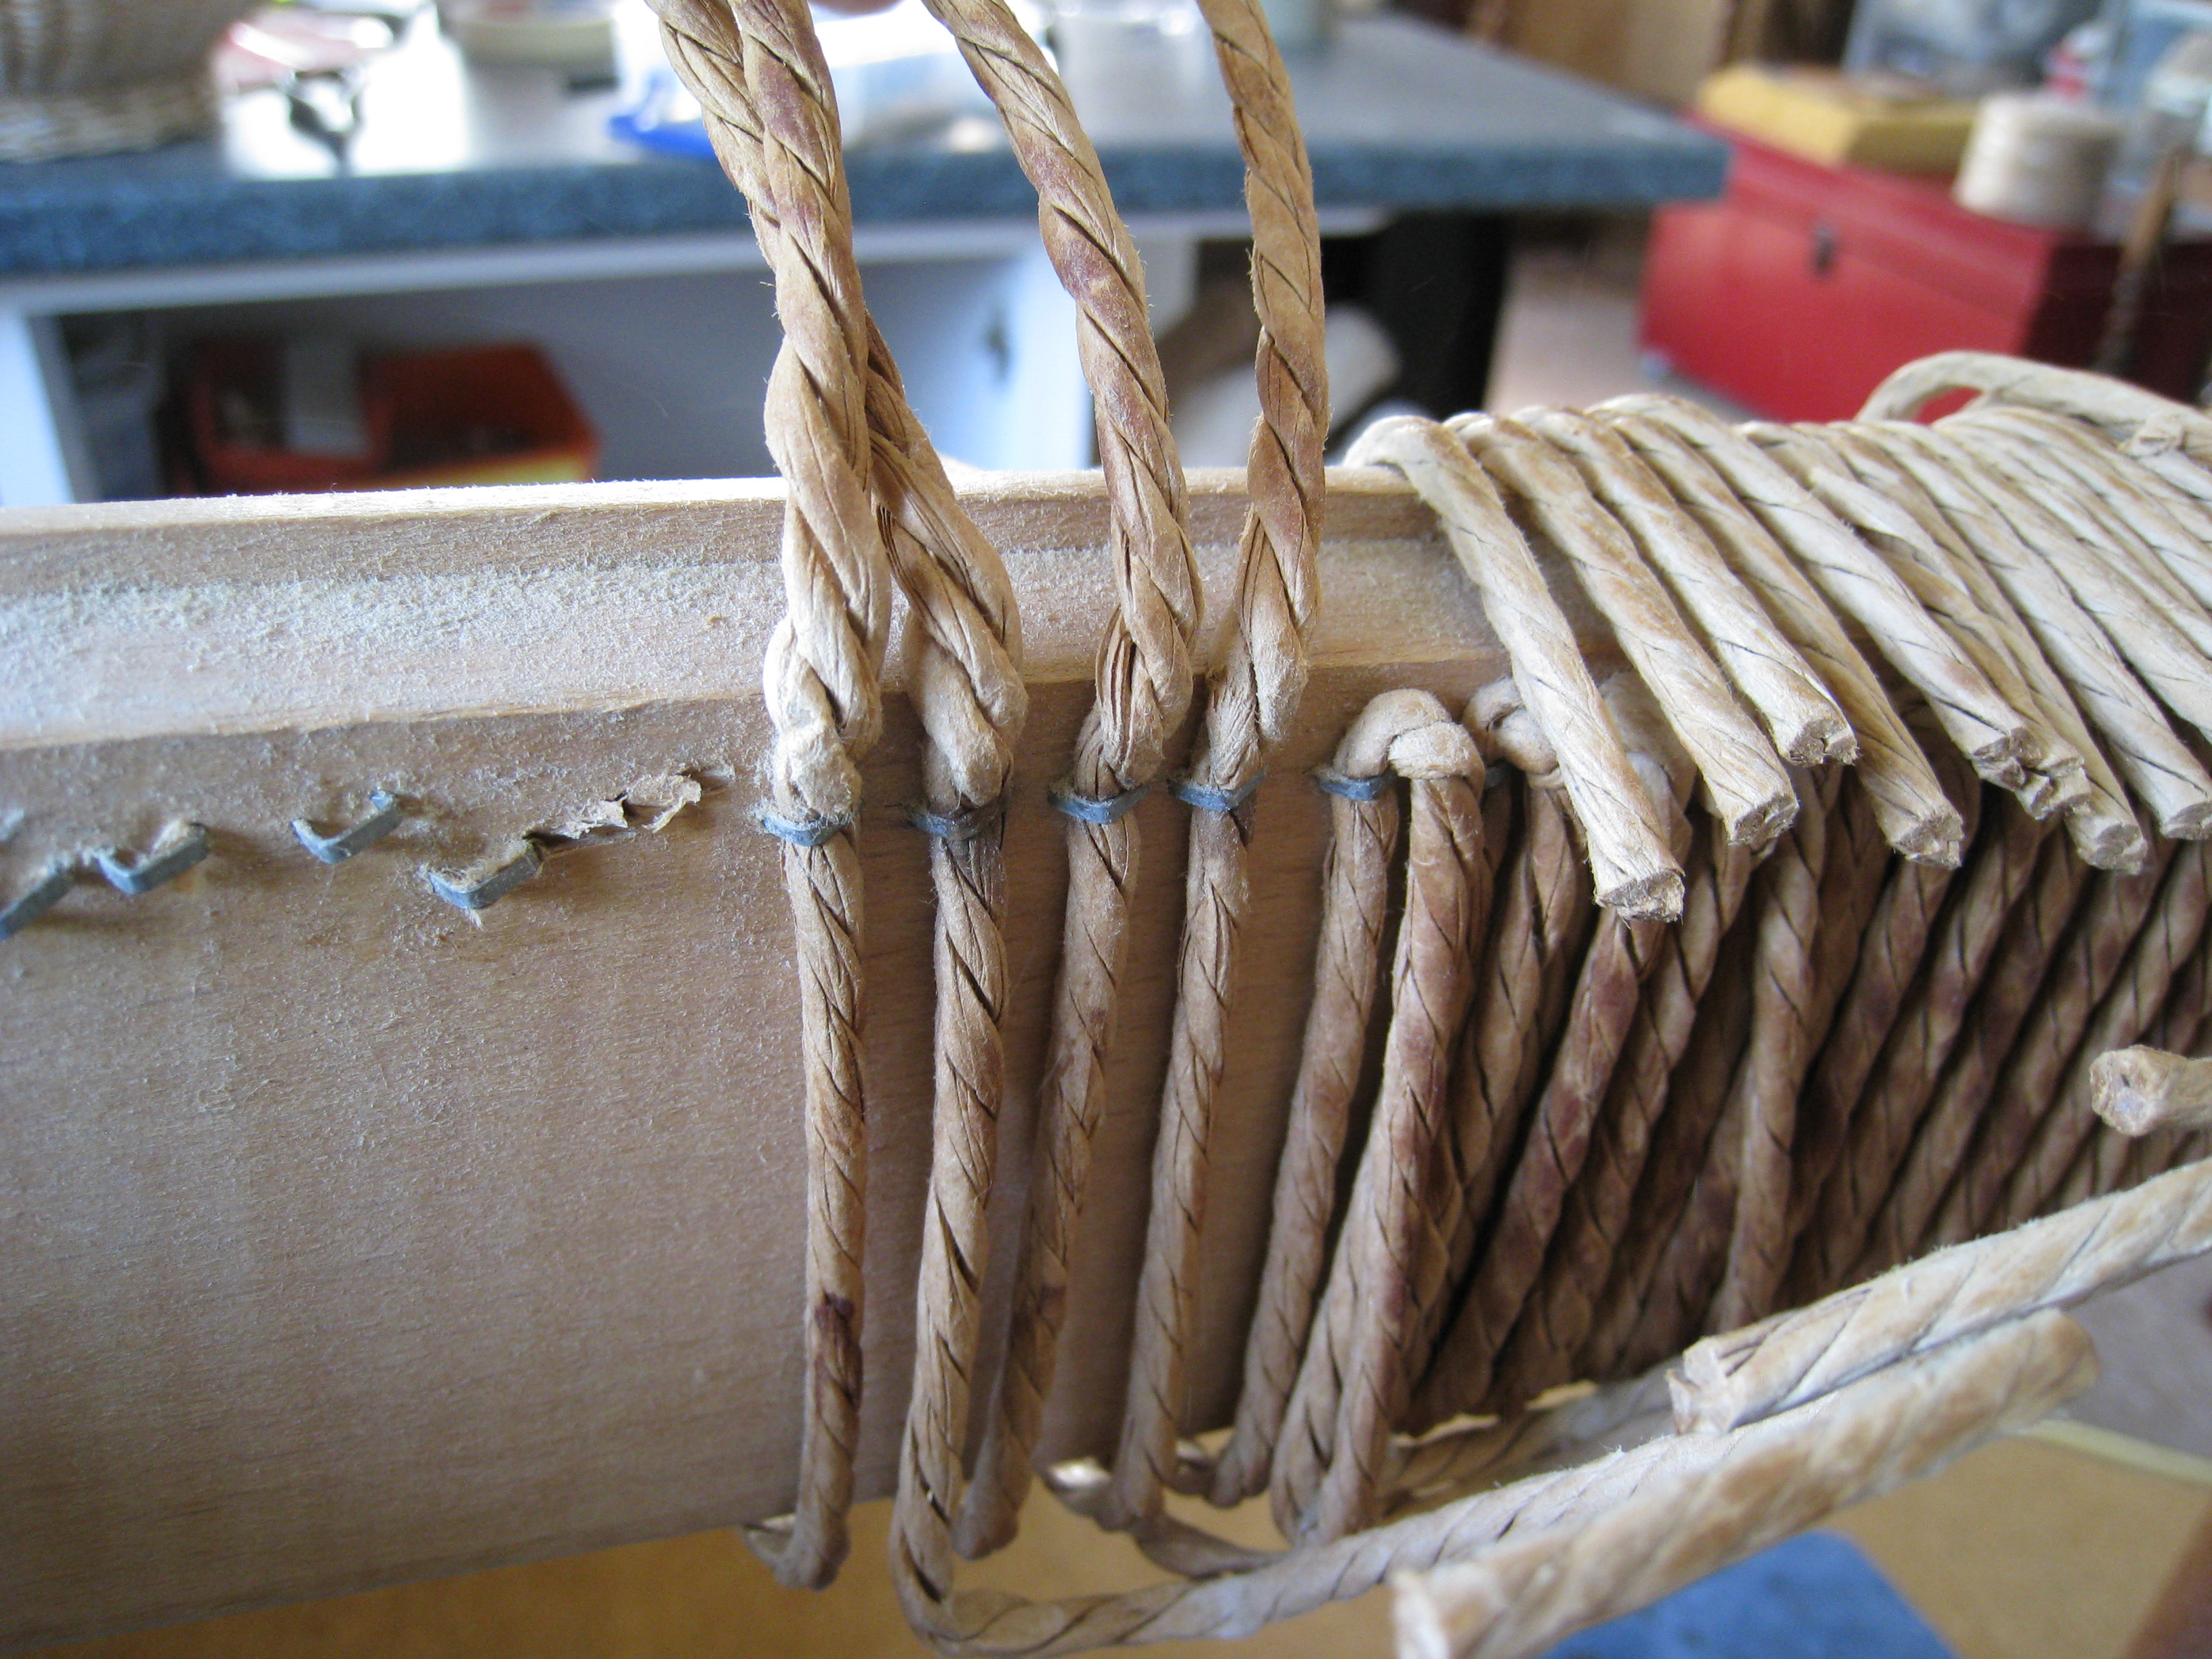
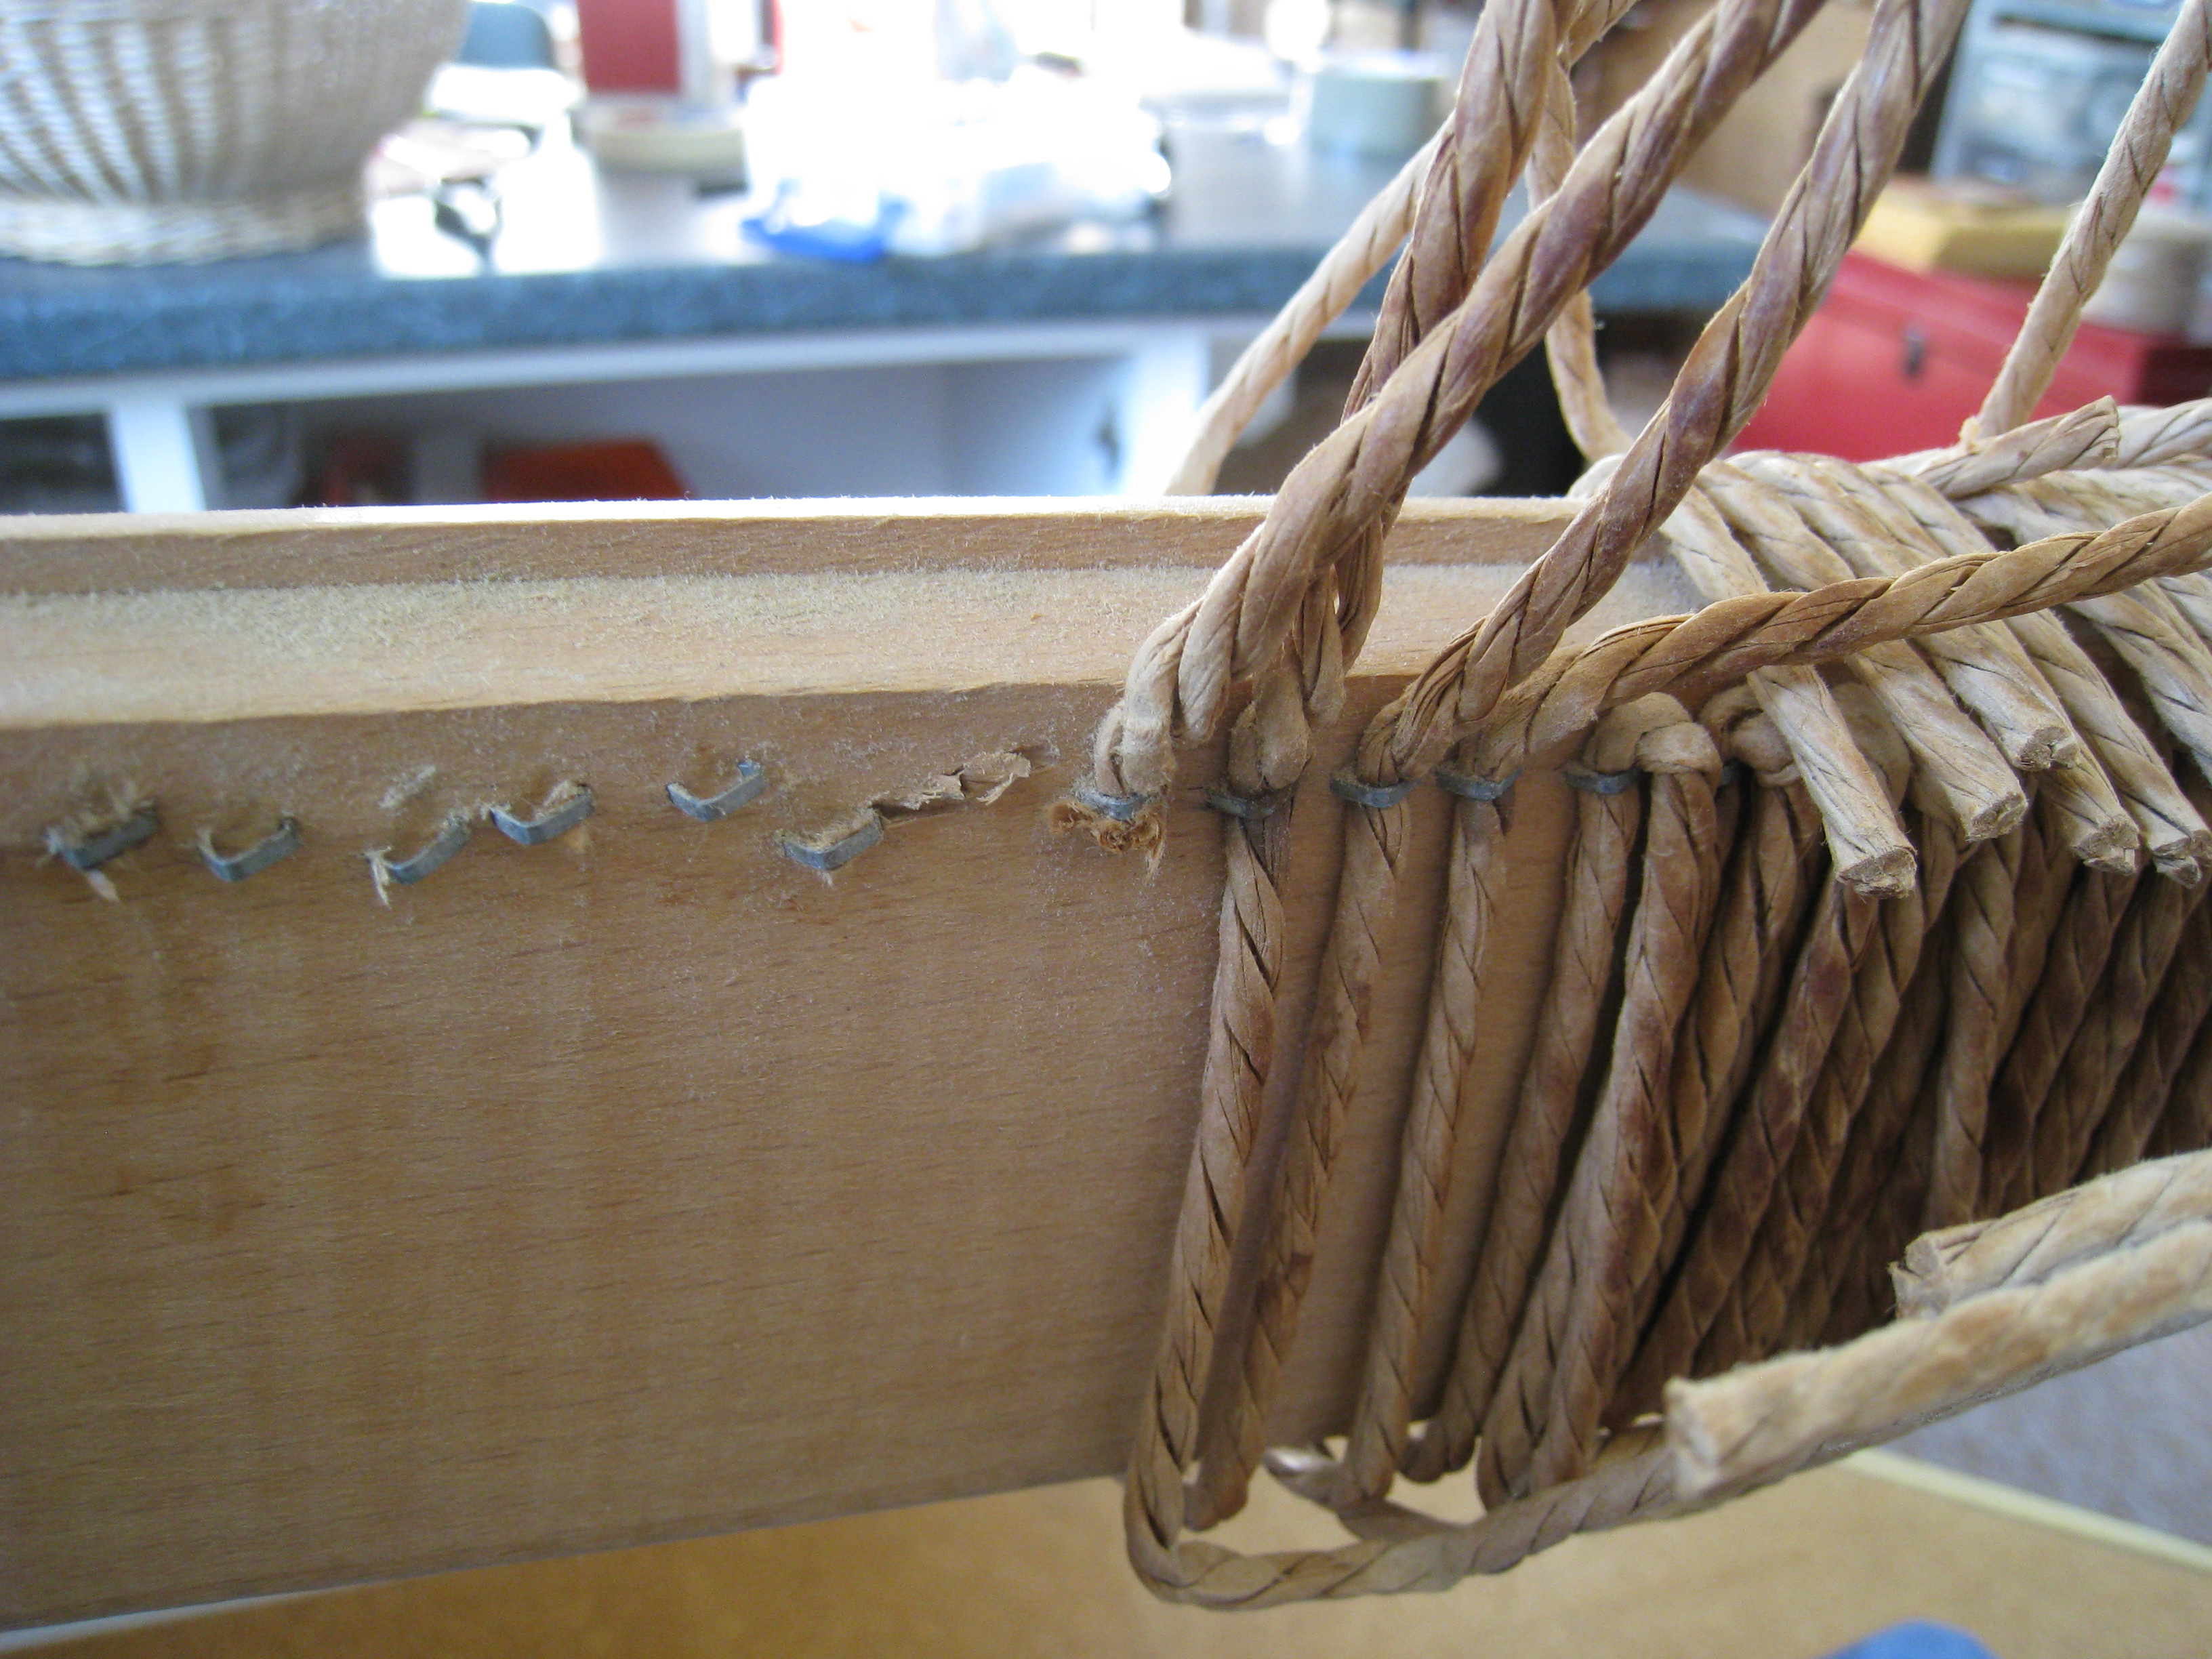
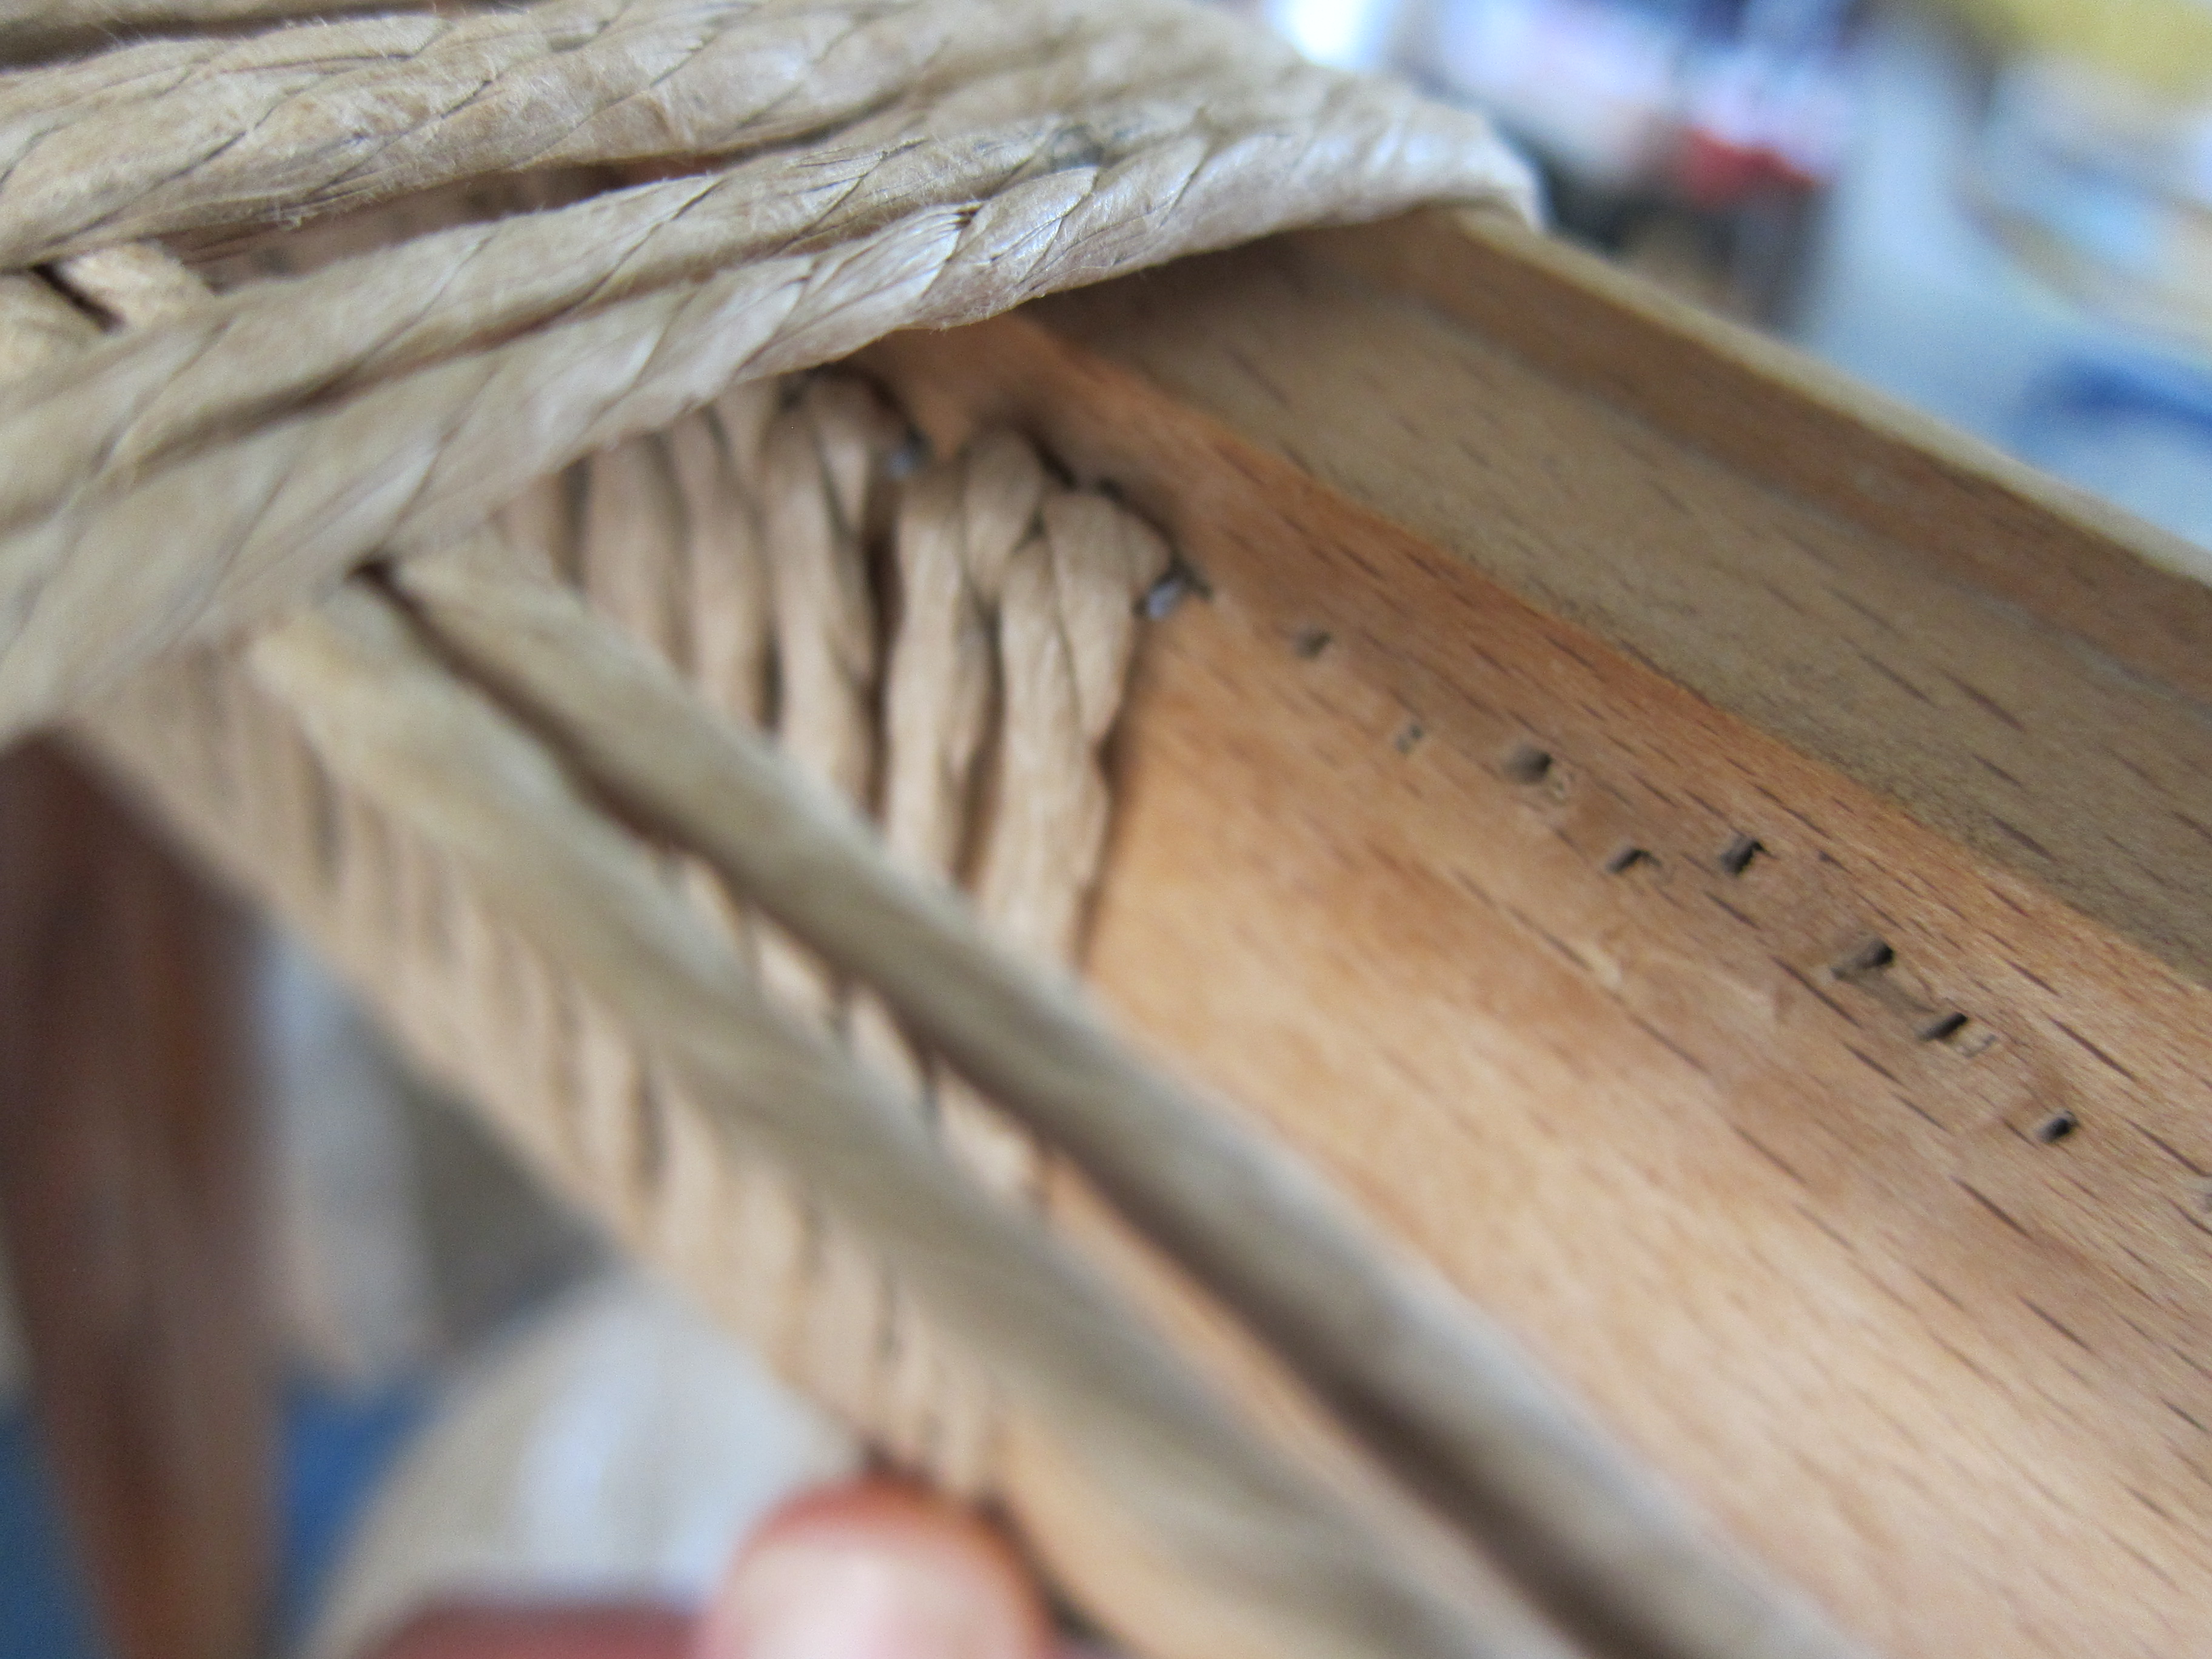
Old cord in situ, folded over the staple |
This shows how the staple was put in. ie across the cord whilst the end is held taut.
If the lower end is pulled up, it should be easy to break it against the staple. If the cord is not rotten enough, a pair of small pliers can be used. |
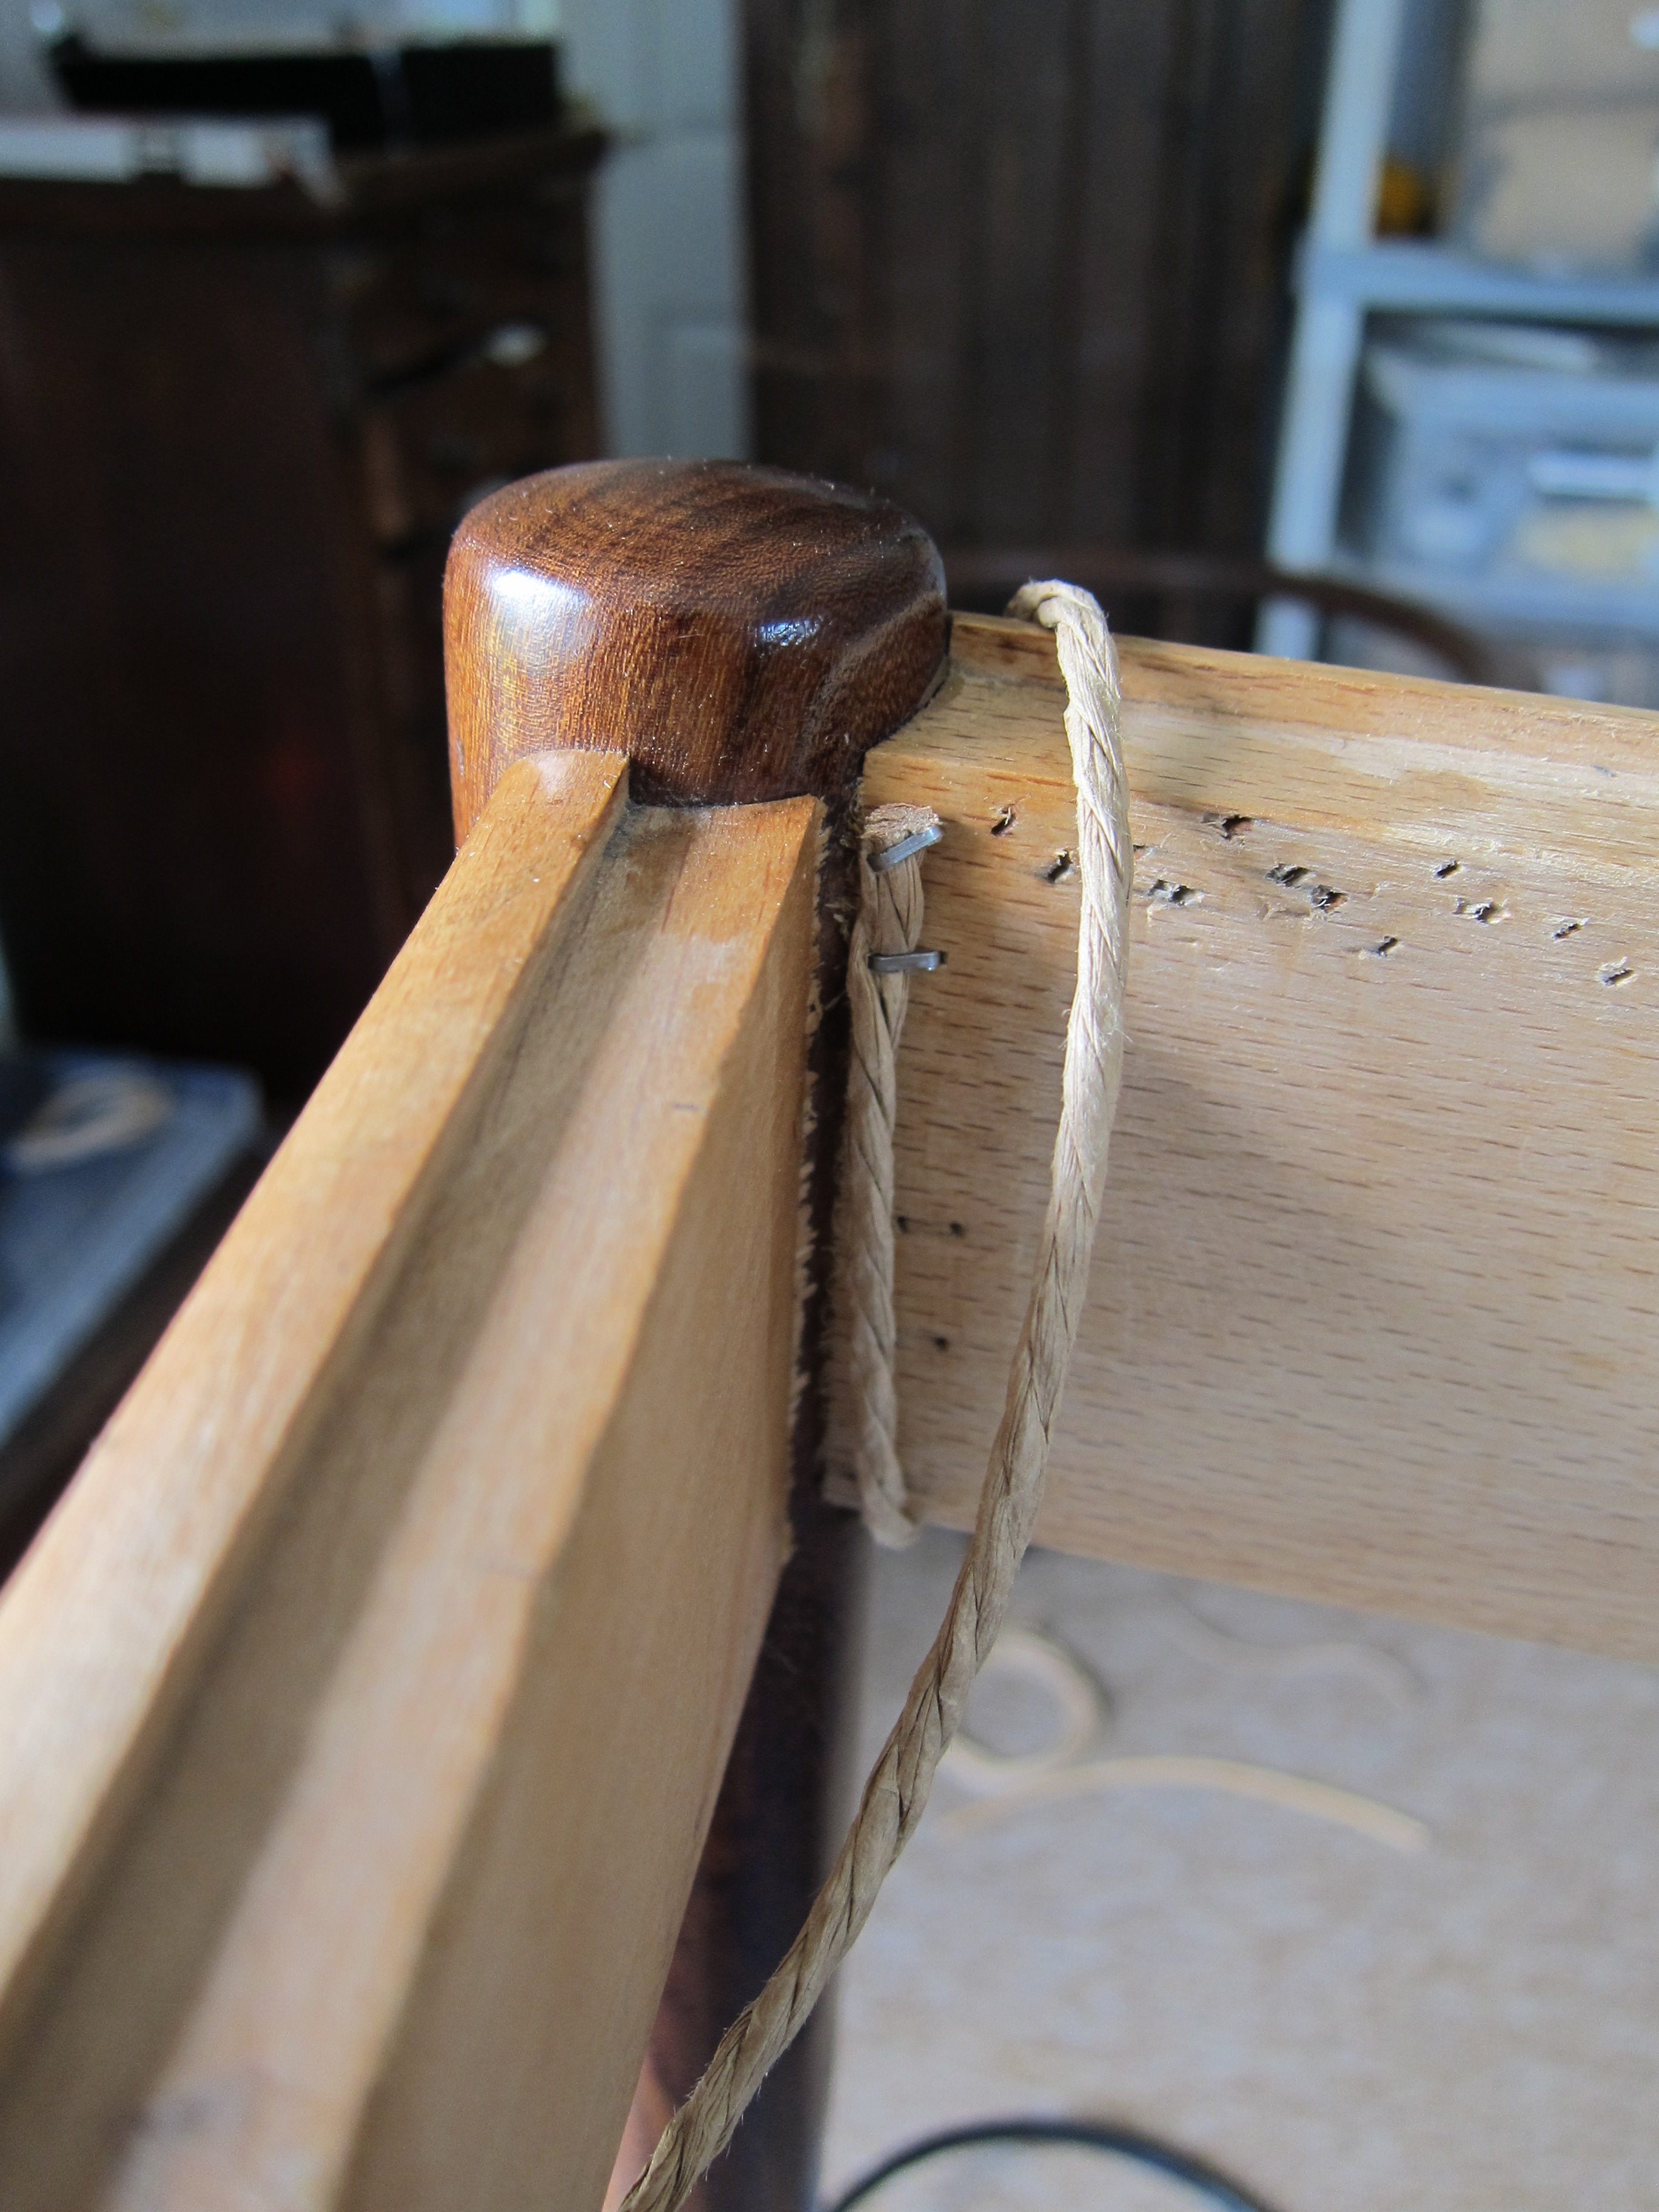
Old cord has been pulled up and broken. The top part will now pull out or break fairly easily. The staples can now be pulled out. I use a pair of very long thin nosed pliers and stick one half through the hole made by the staple and levering it out. |
|
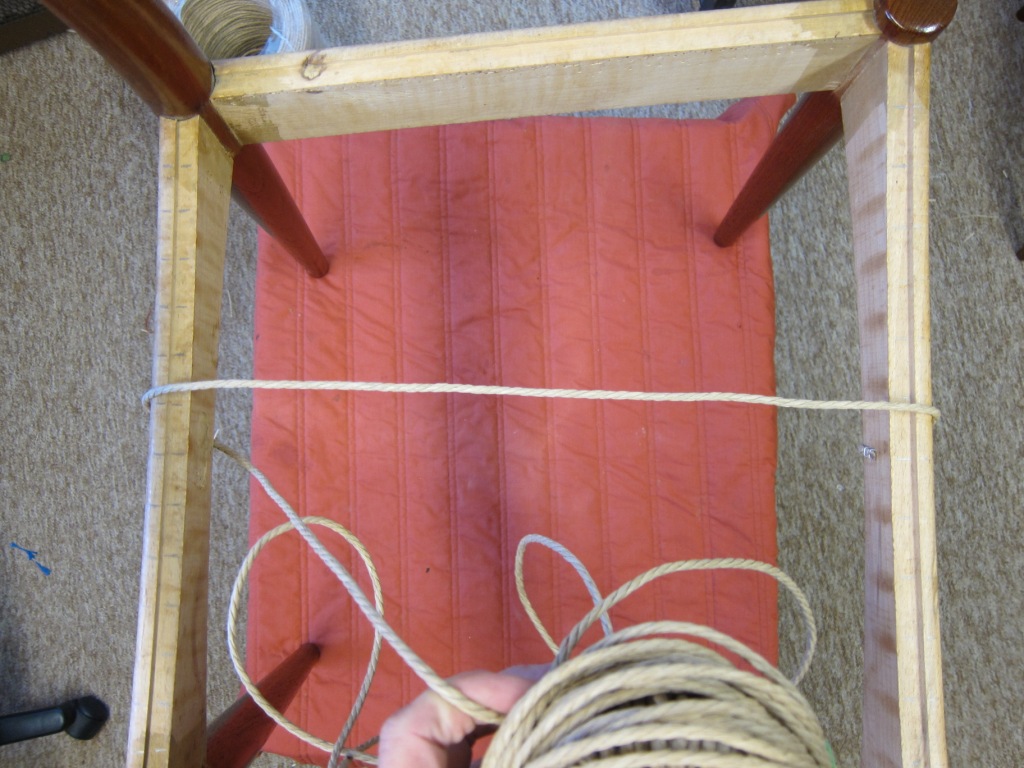
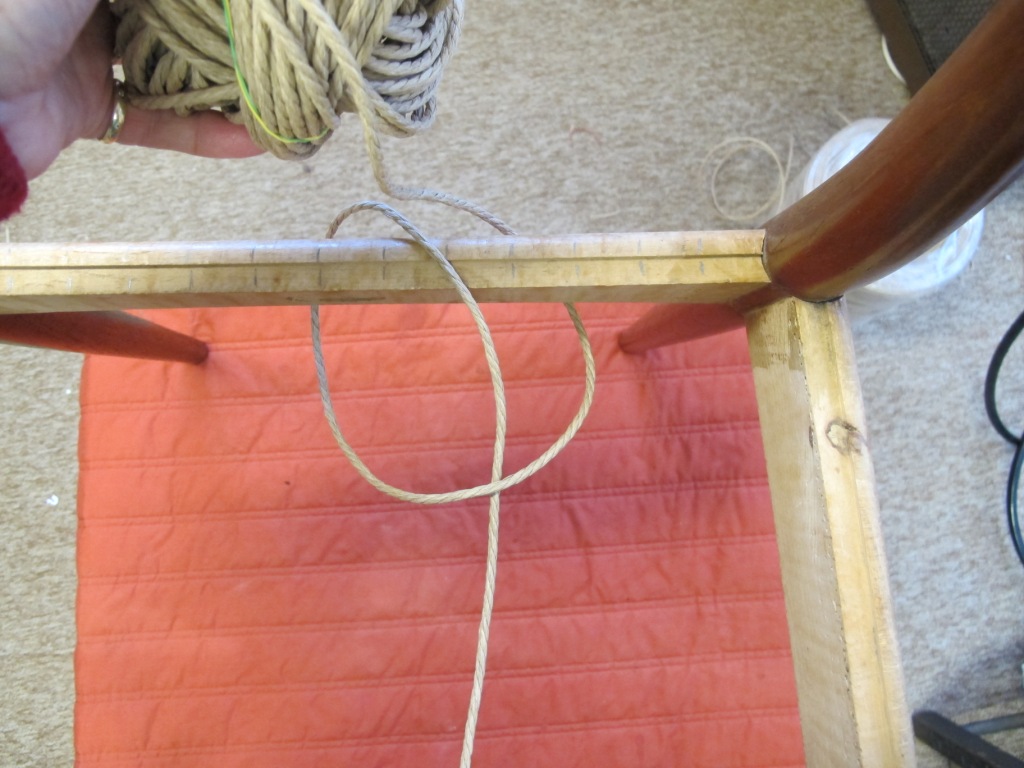
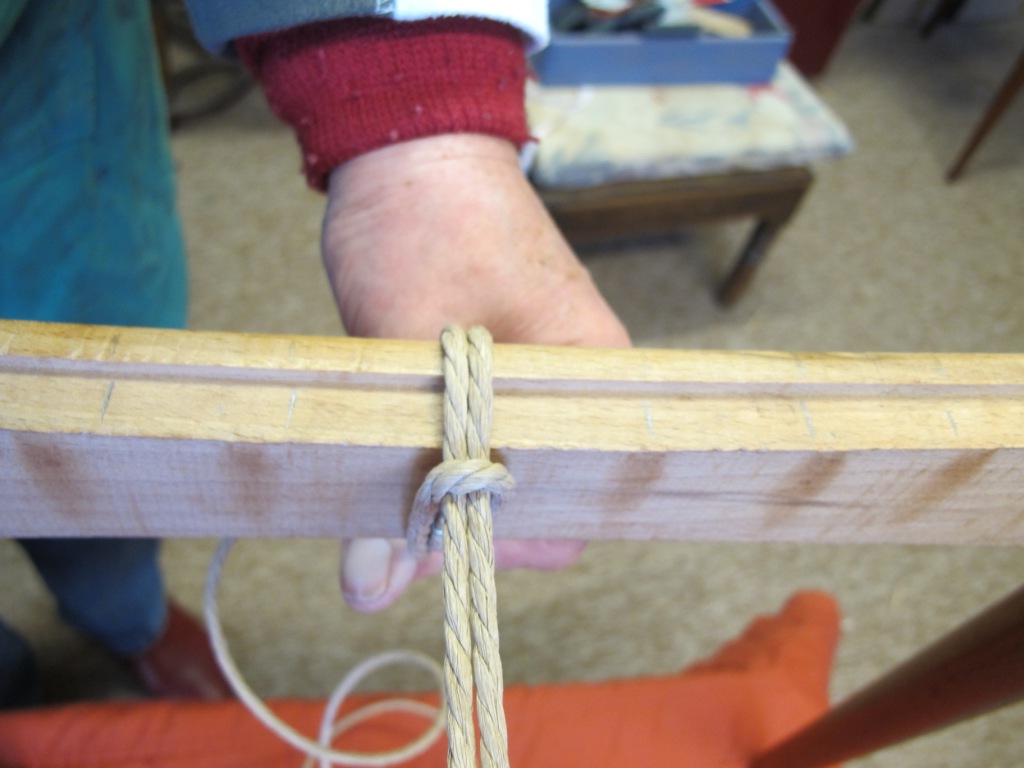
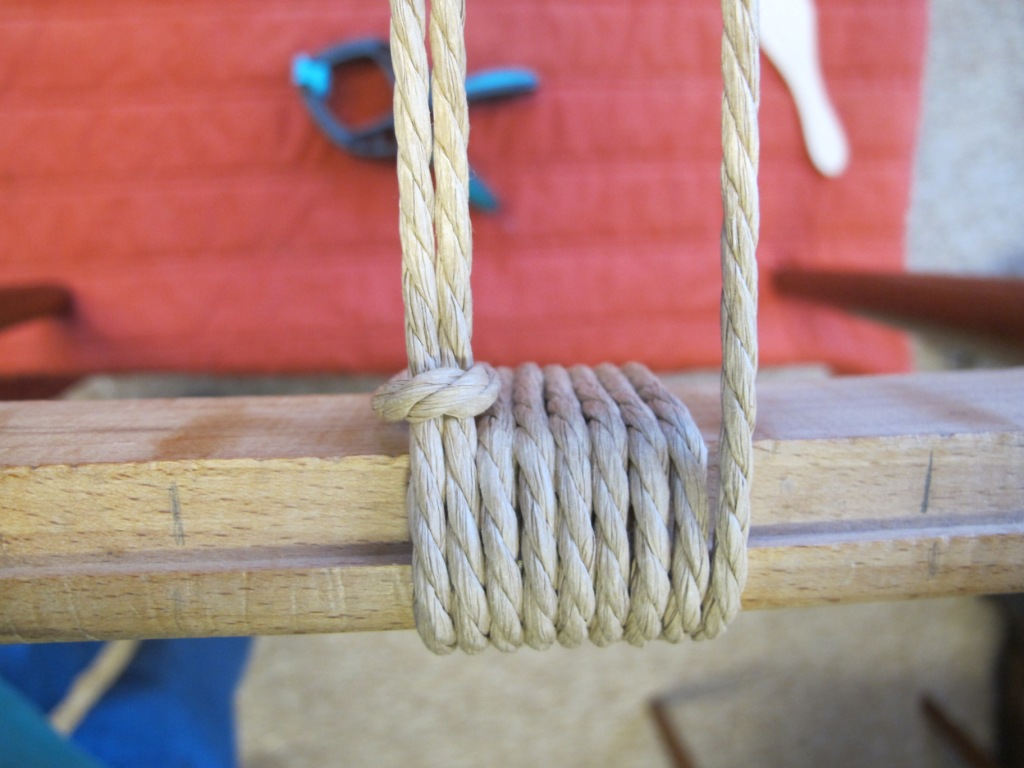
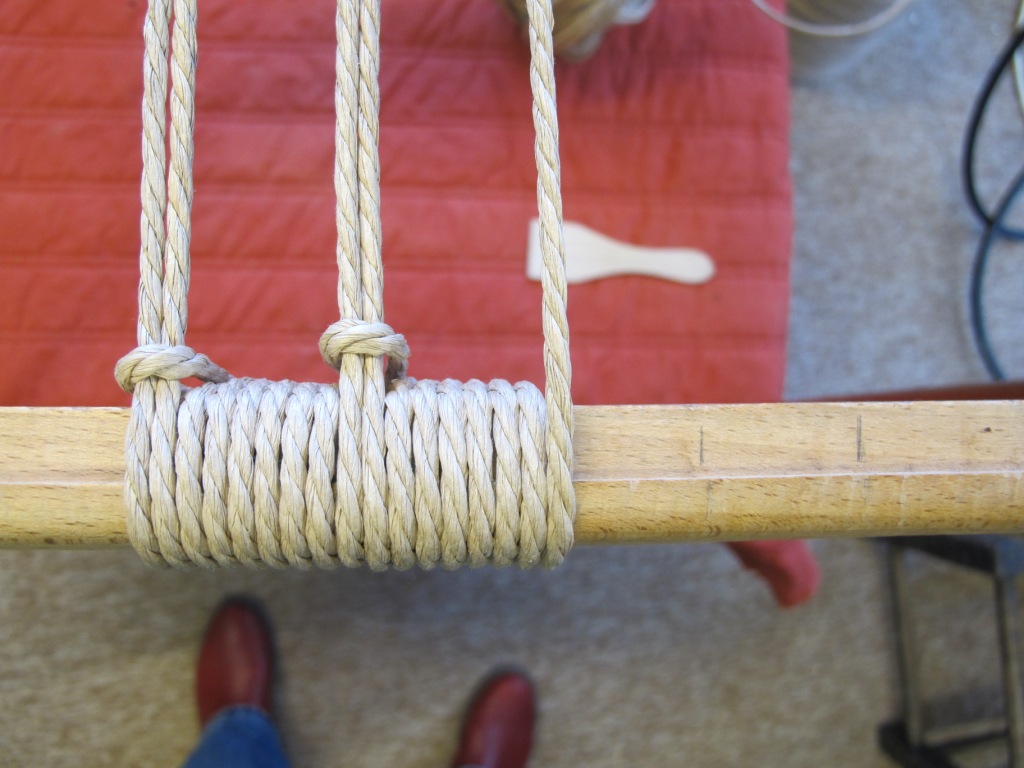
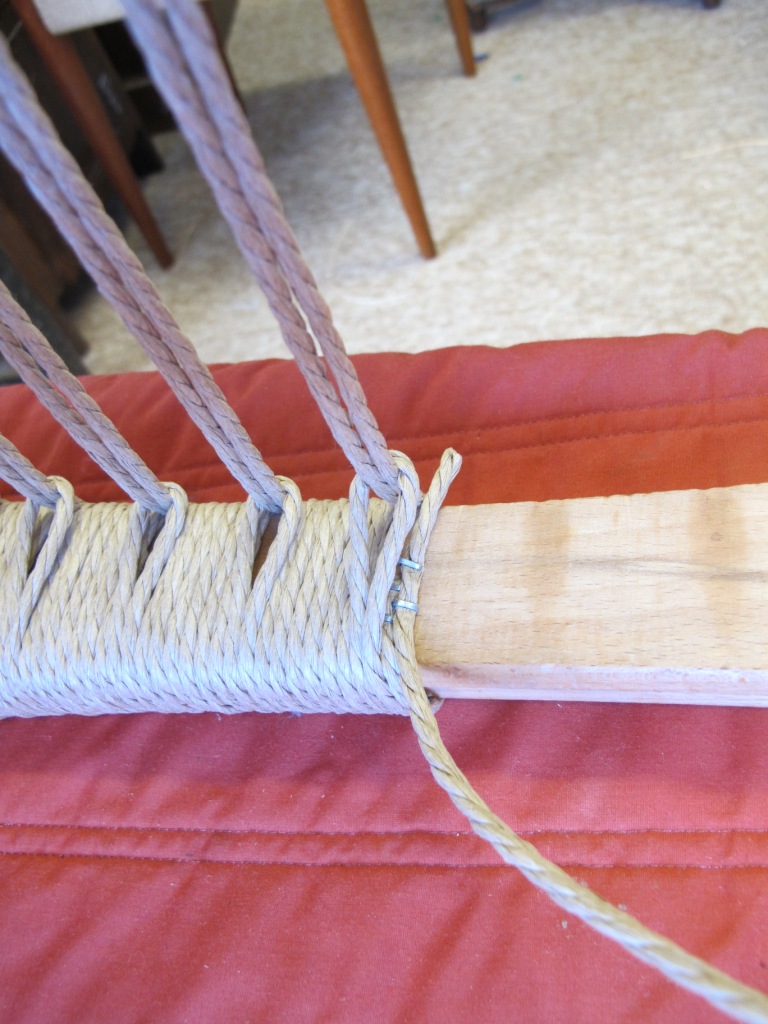
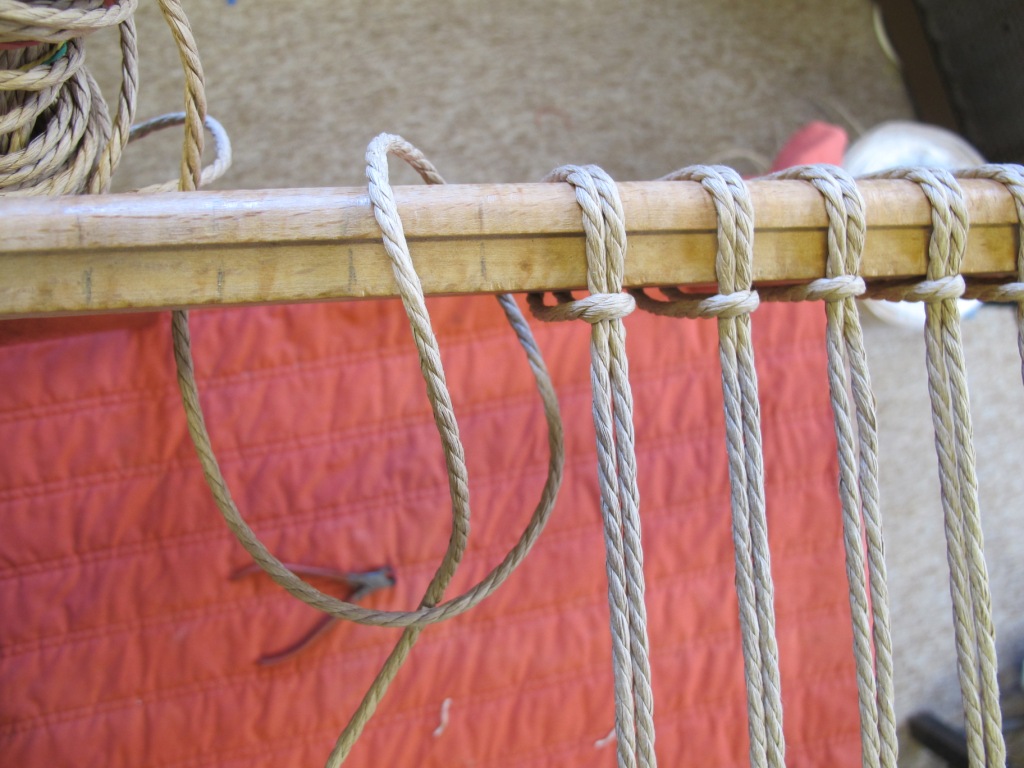
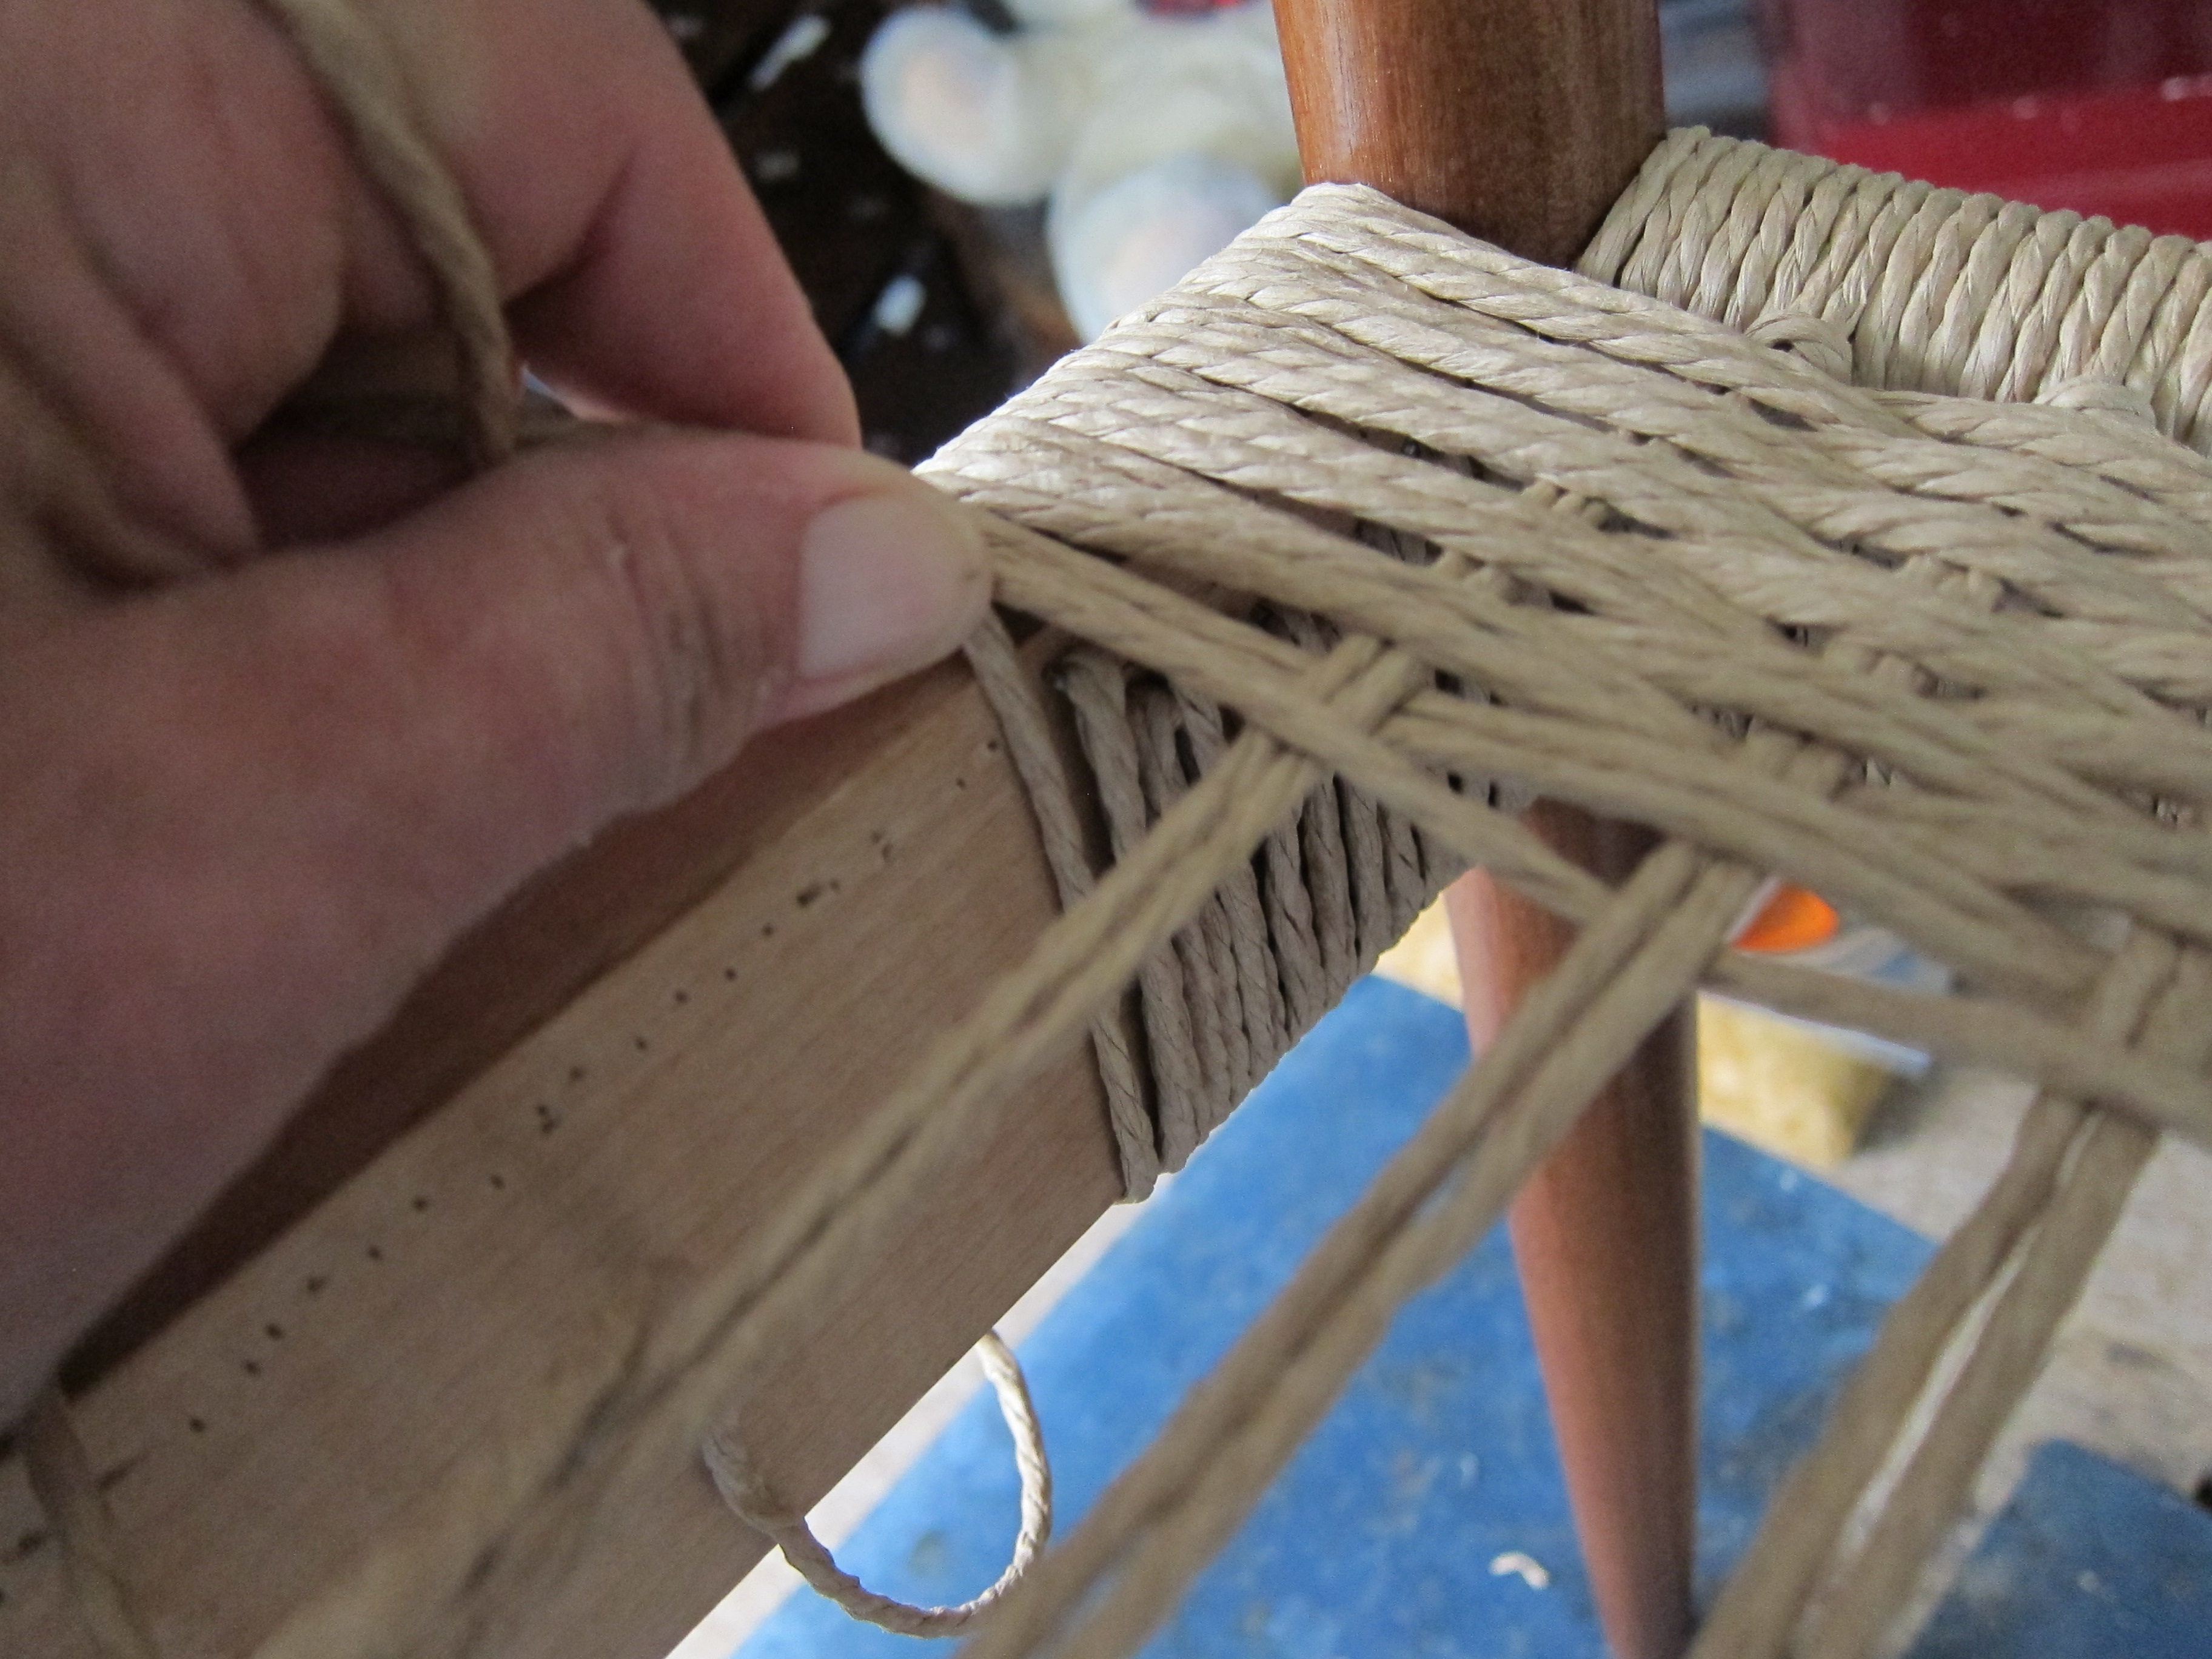
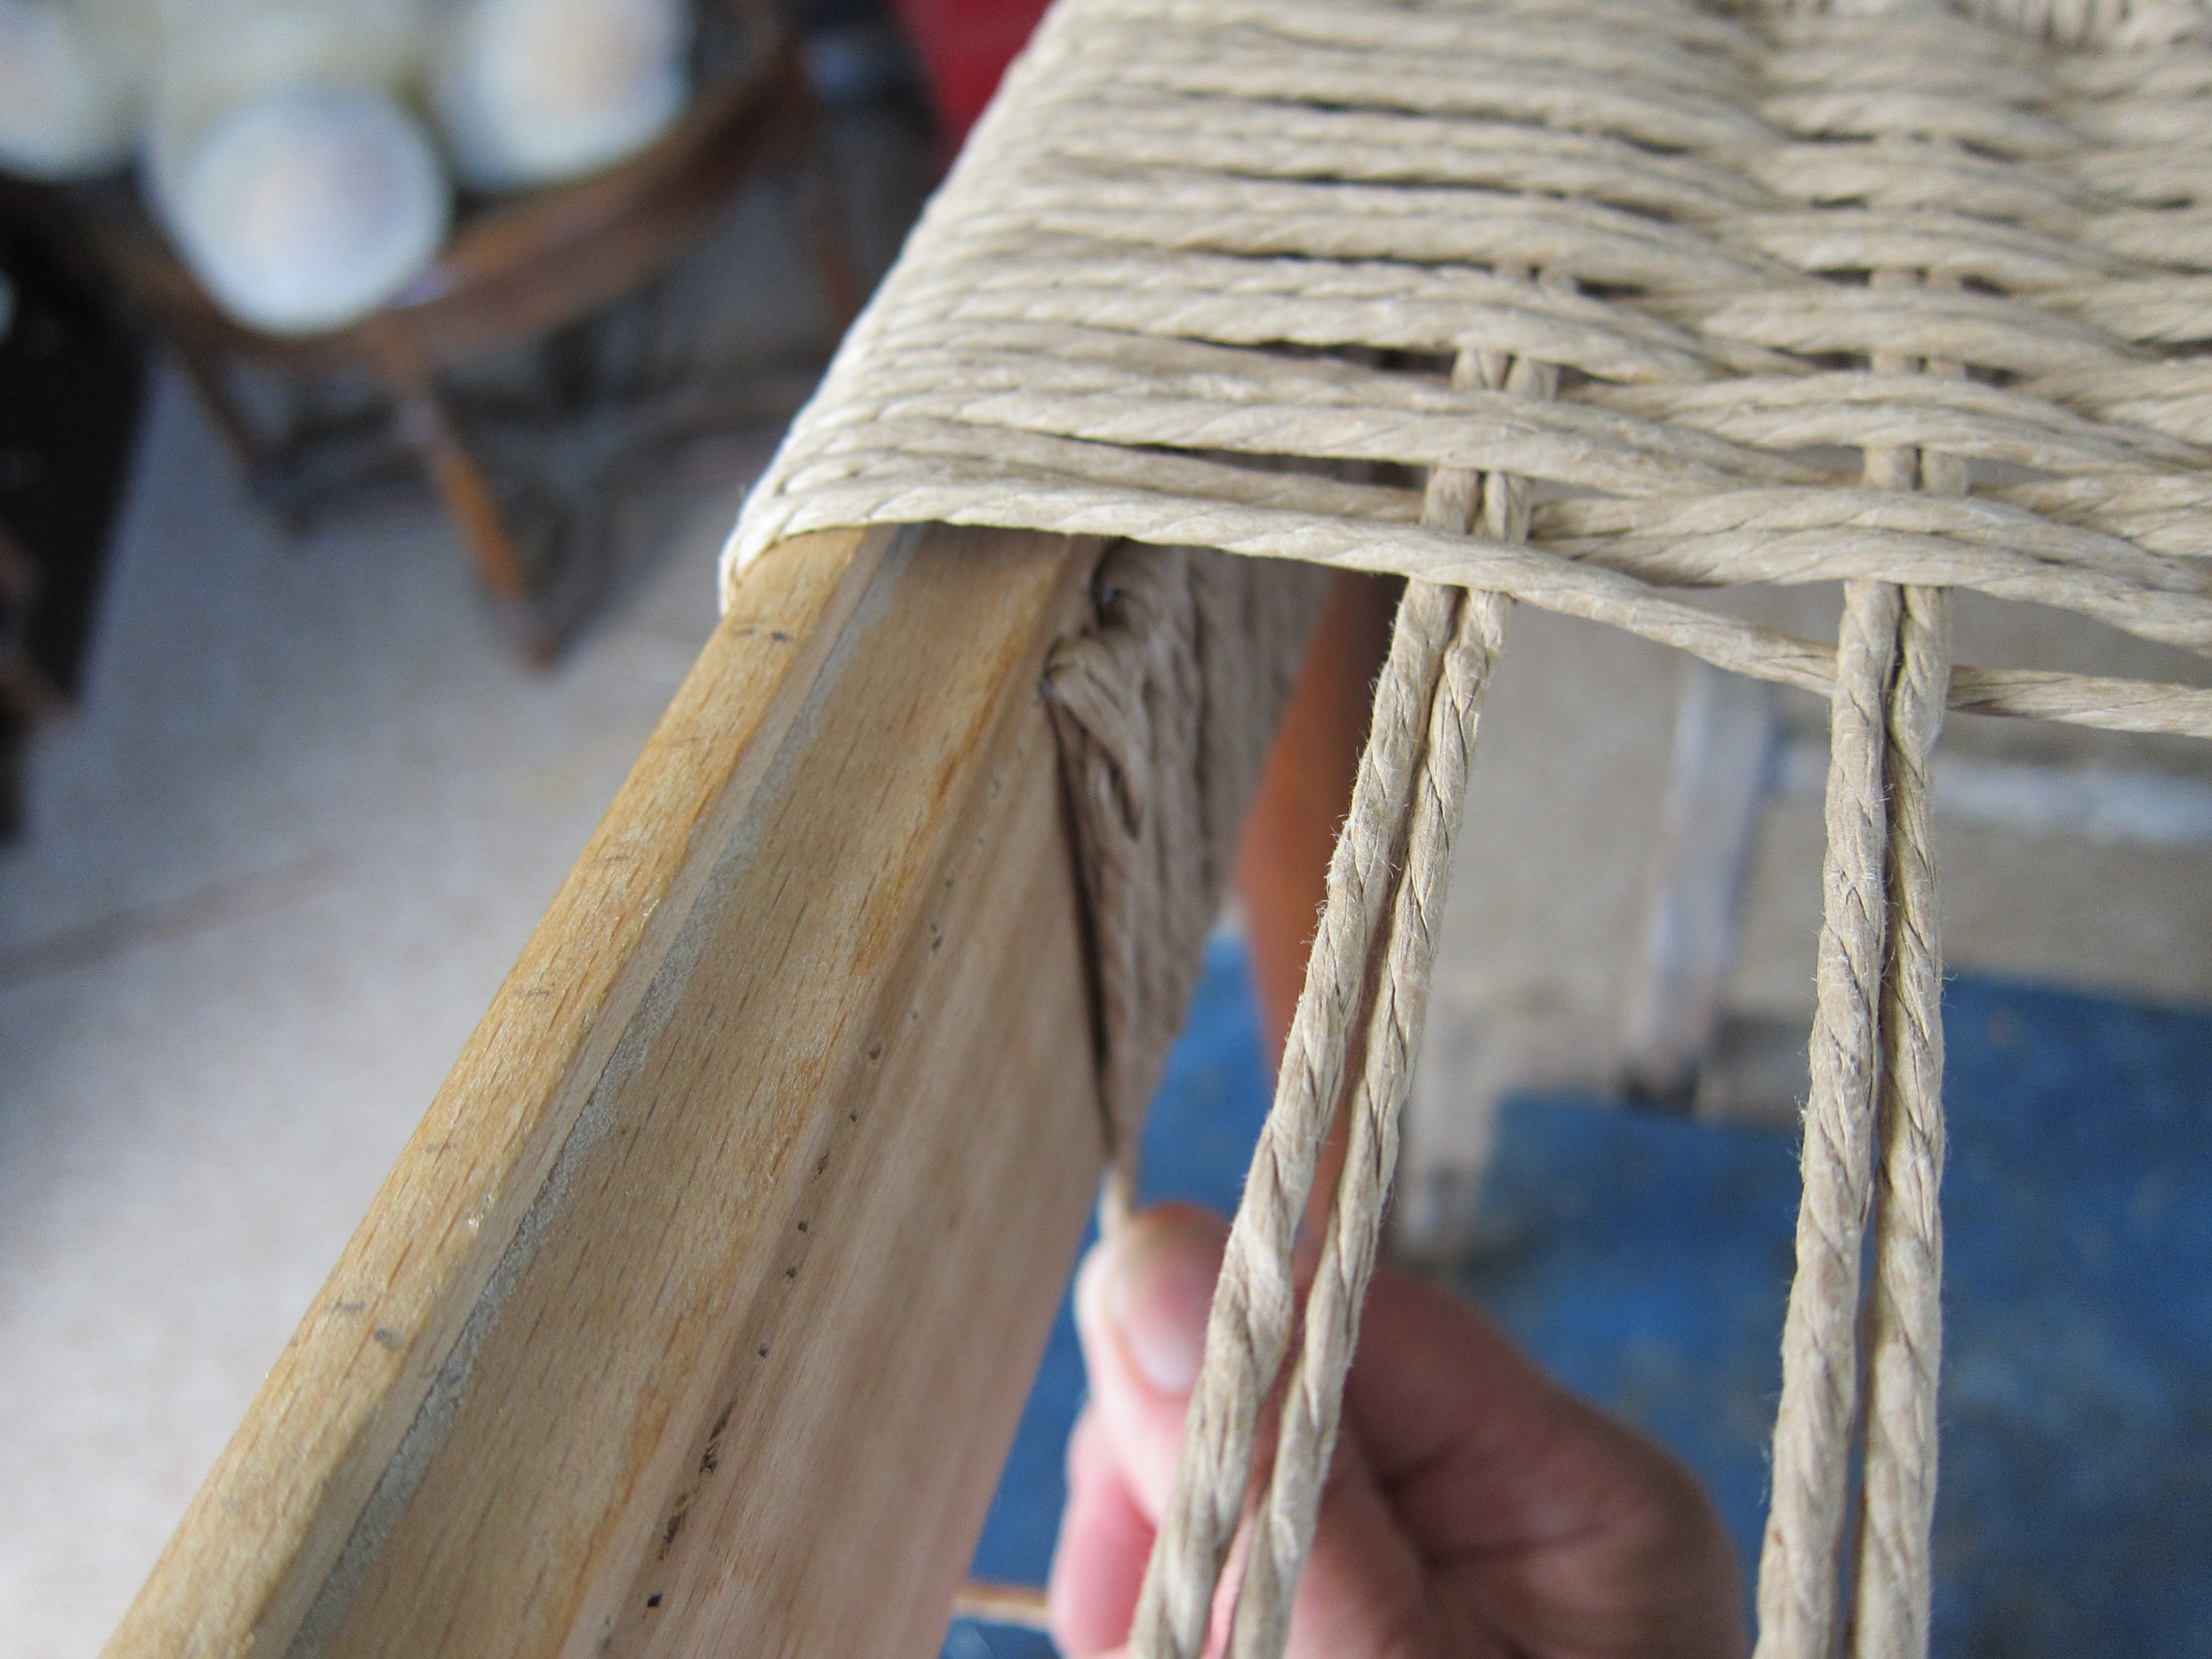
This is how the cording is started. Cord is stapled onto LH rail then over that and under front rail to start the wrapping and warps (front to back). |
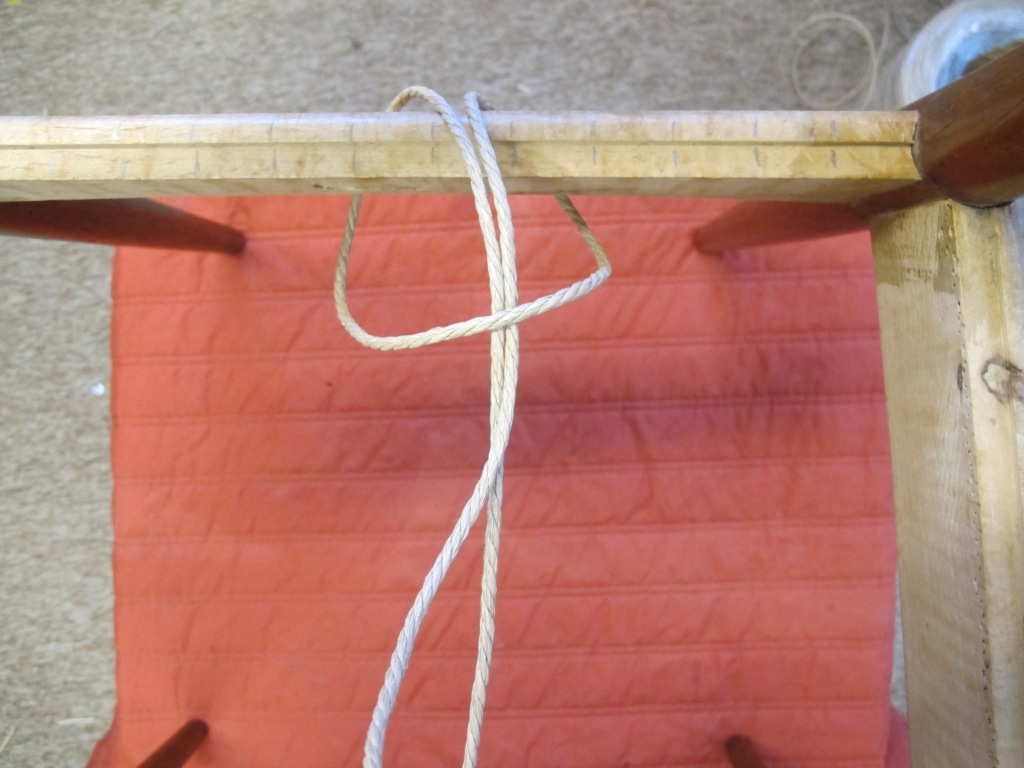
Pair of cord wefts (woven side to side) is woven across as per normal as one looped at the end. Passed over the side rail and the back half of the pair is pulled up and held taught. |
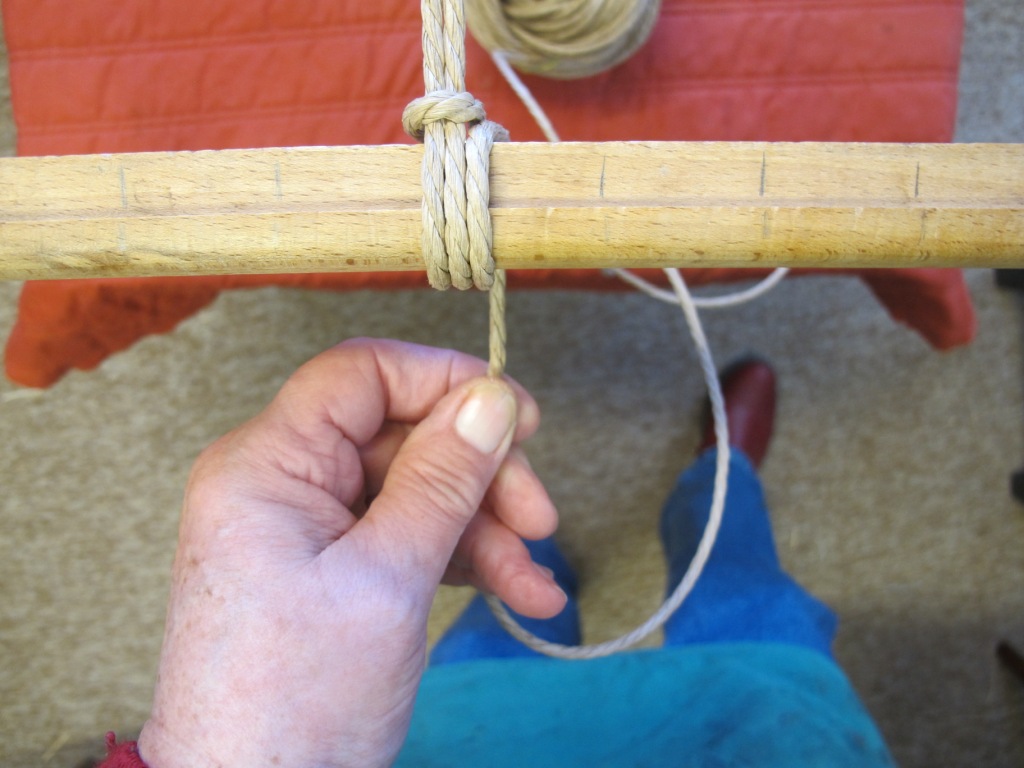
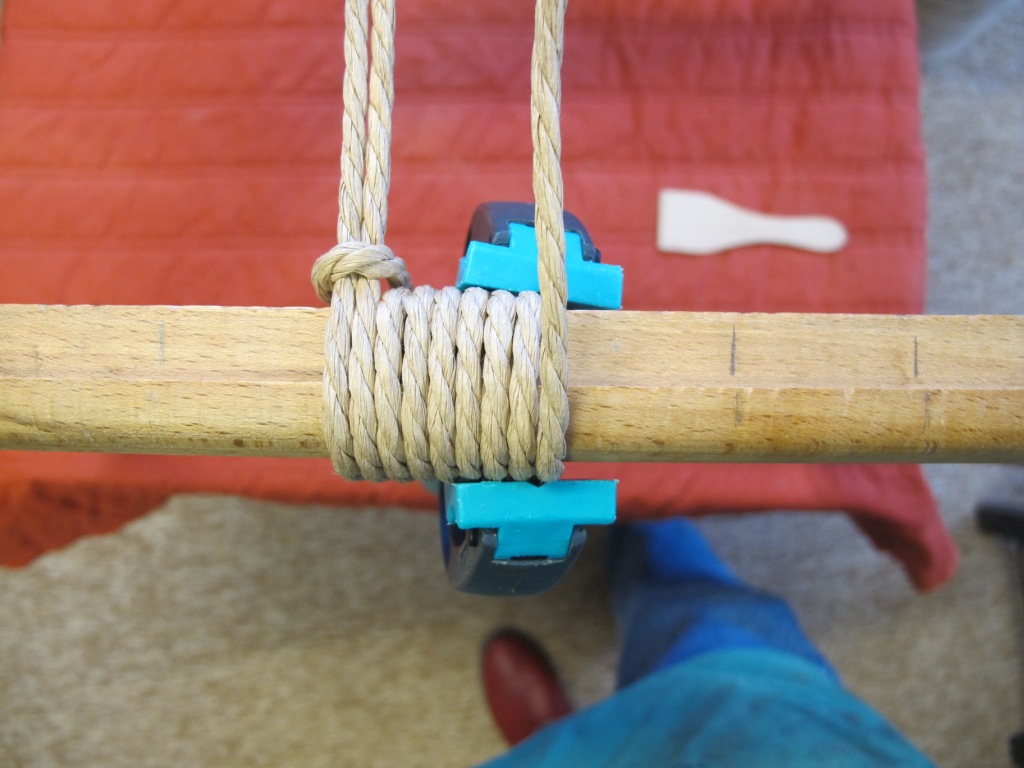
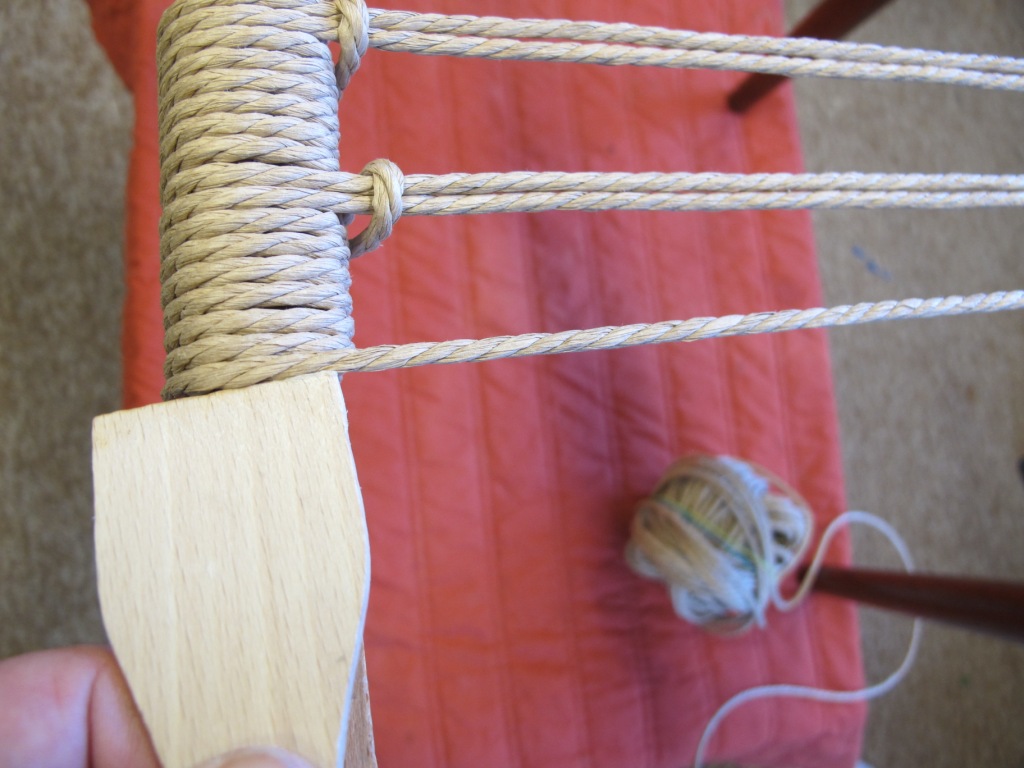
The cord is stapled from underneath as high up as possible. It's a little bit of a fiddle at first but gets easier with practice. |
|
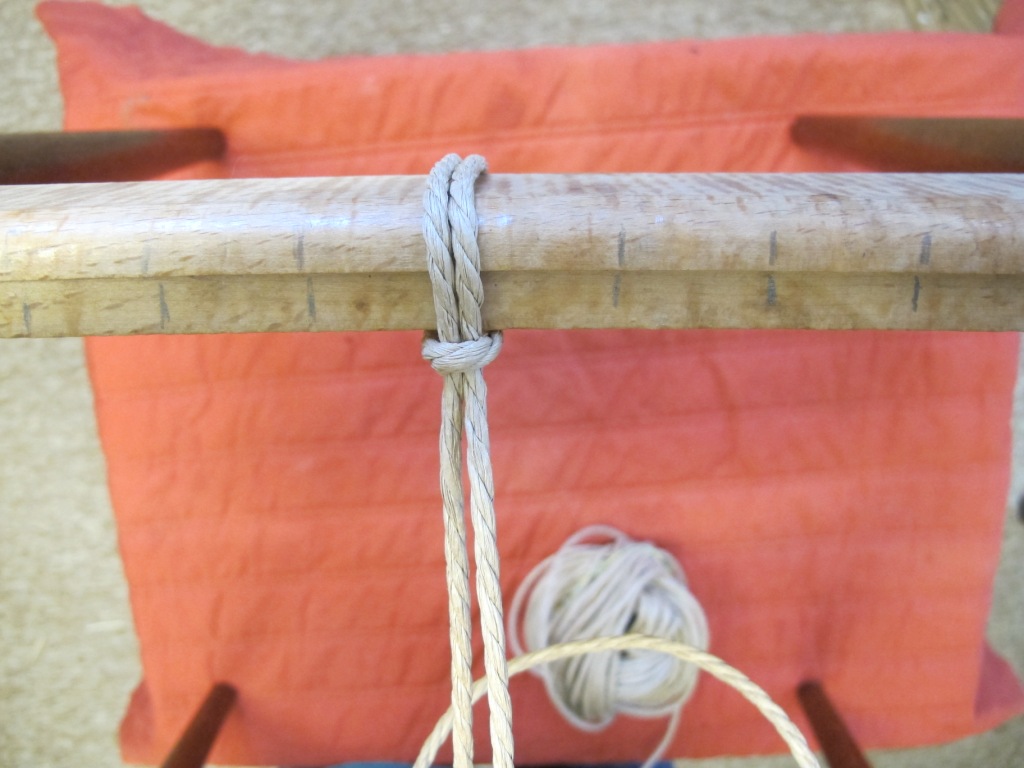
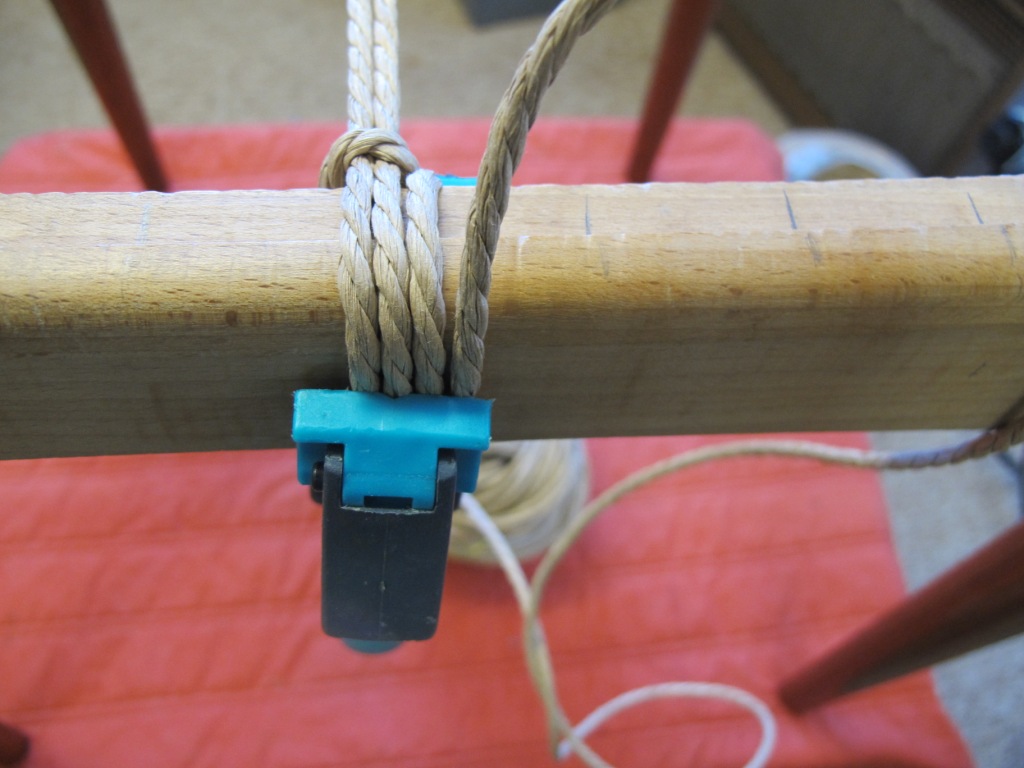
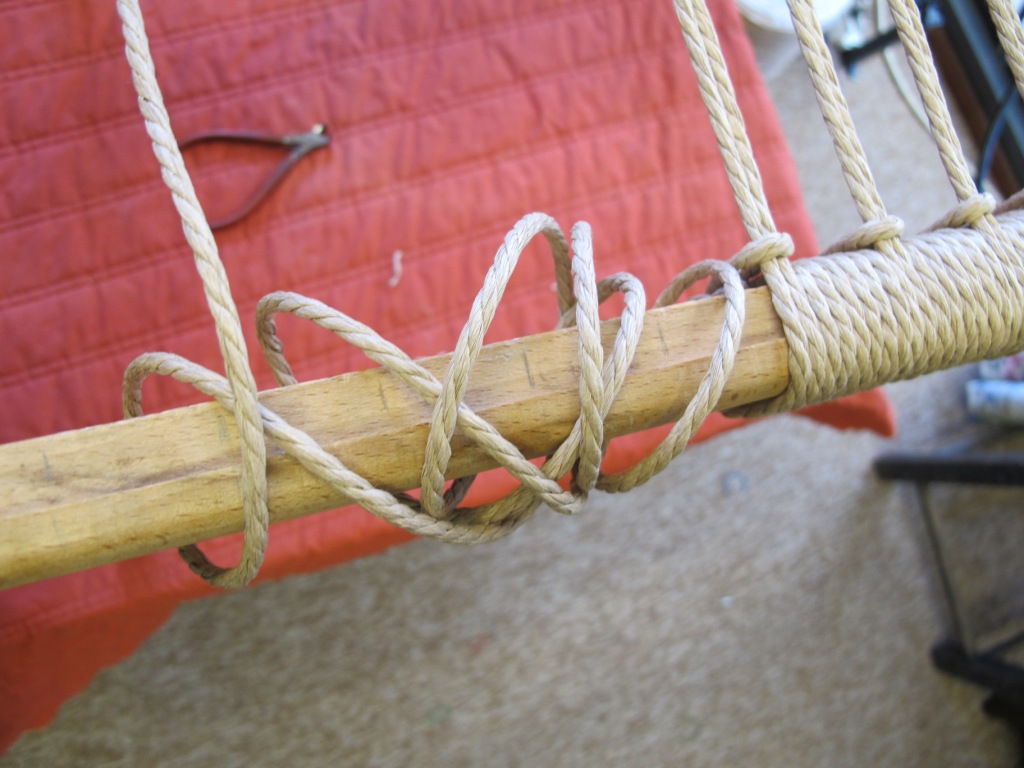
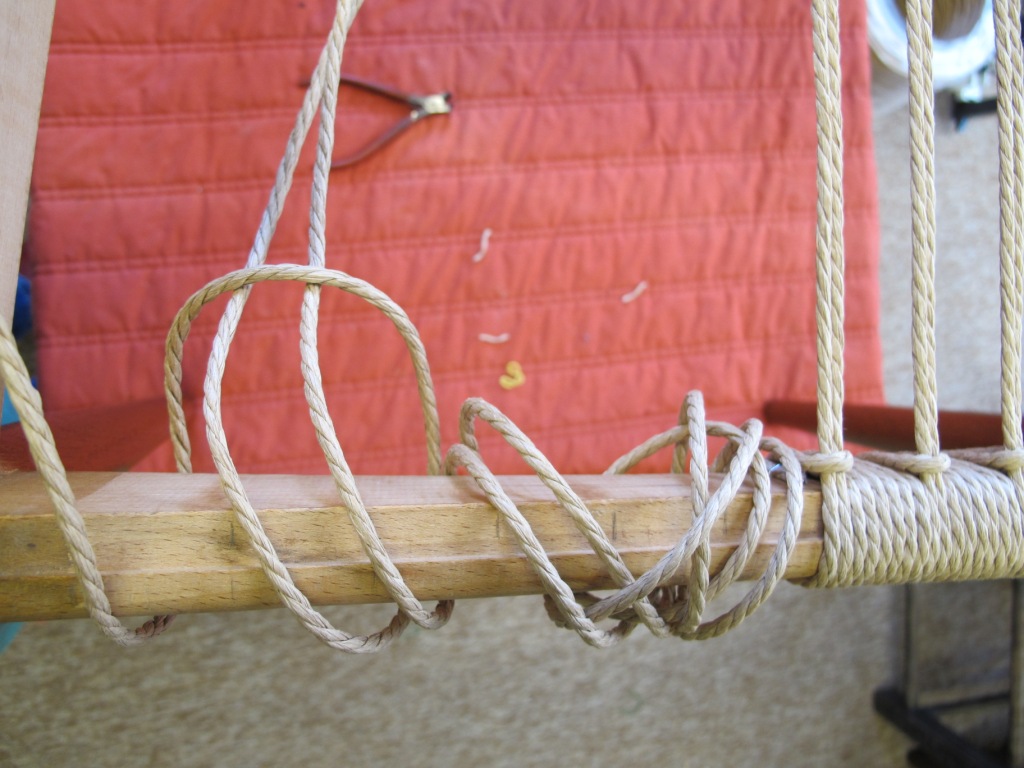
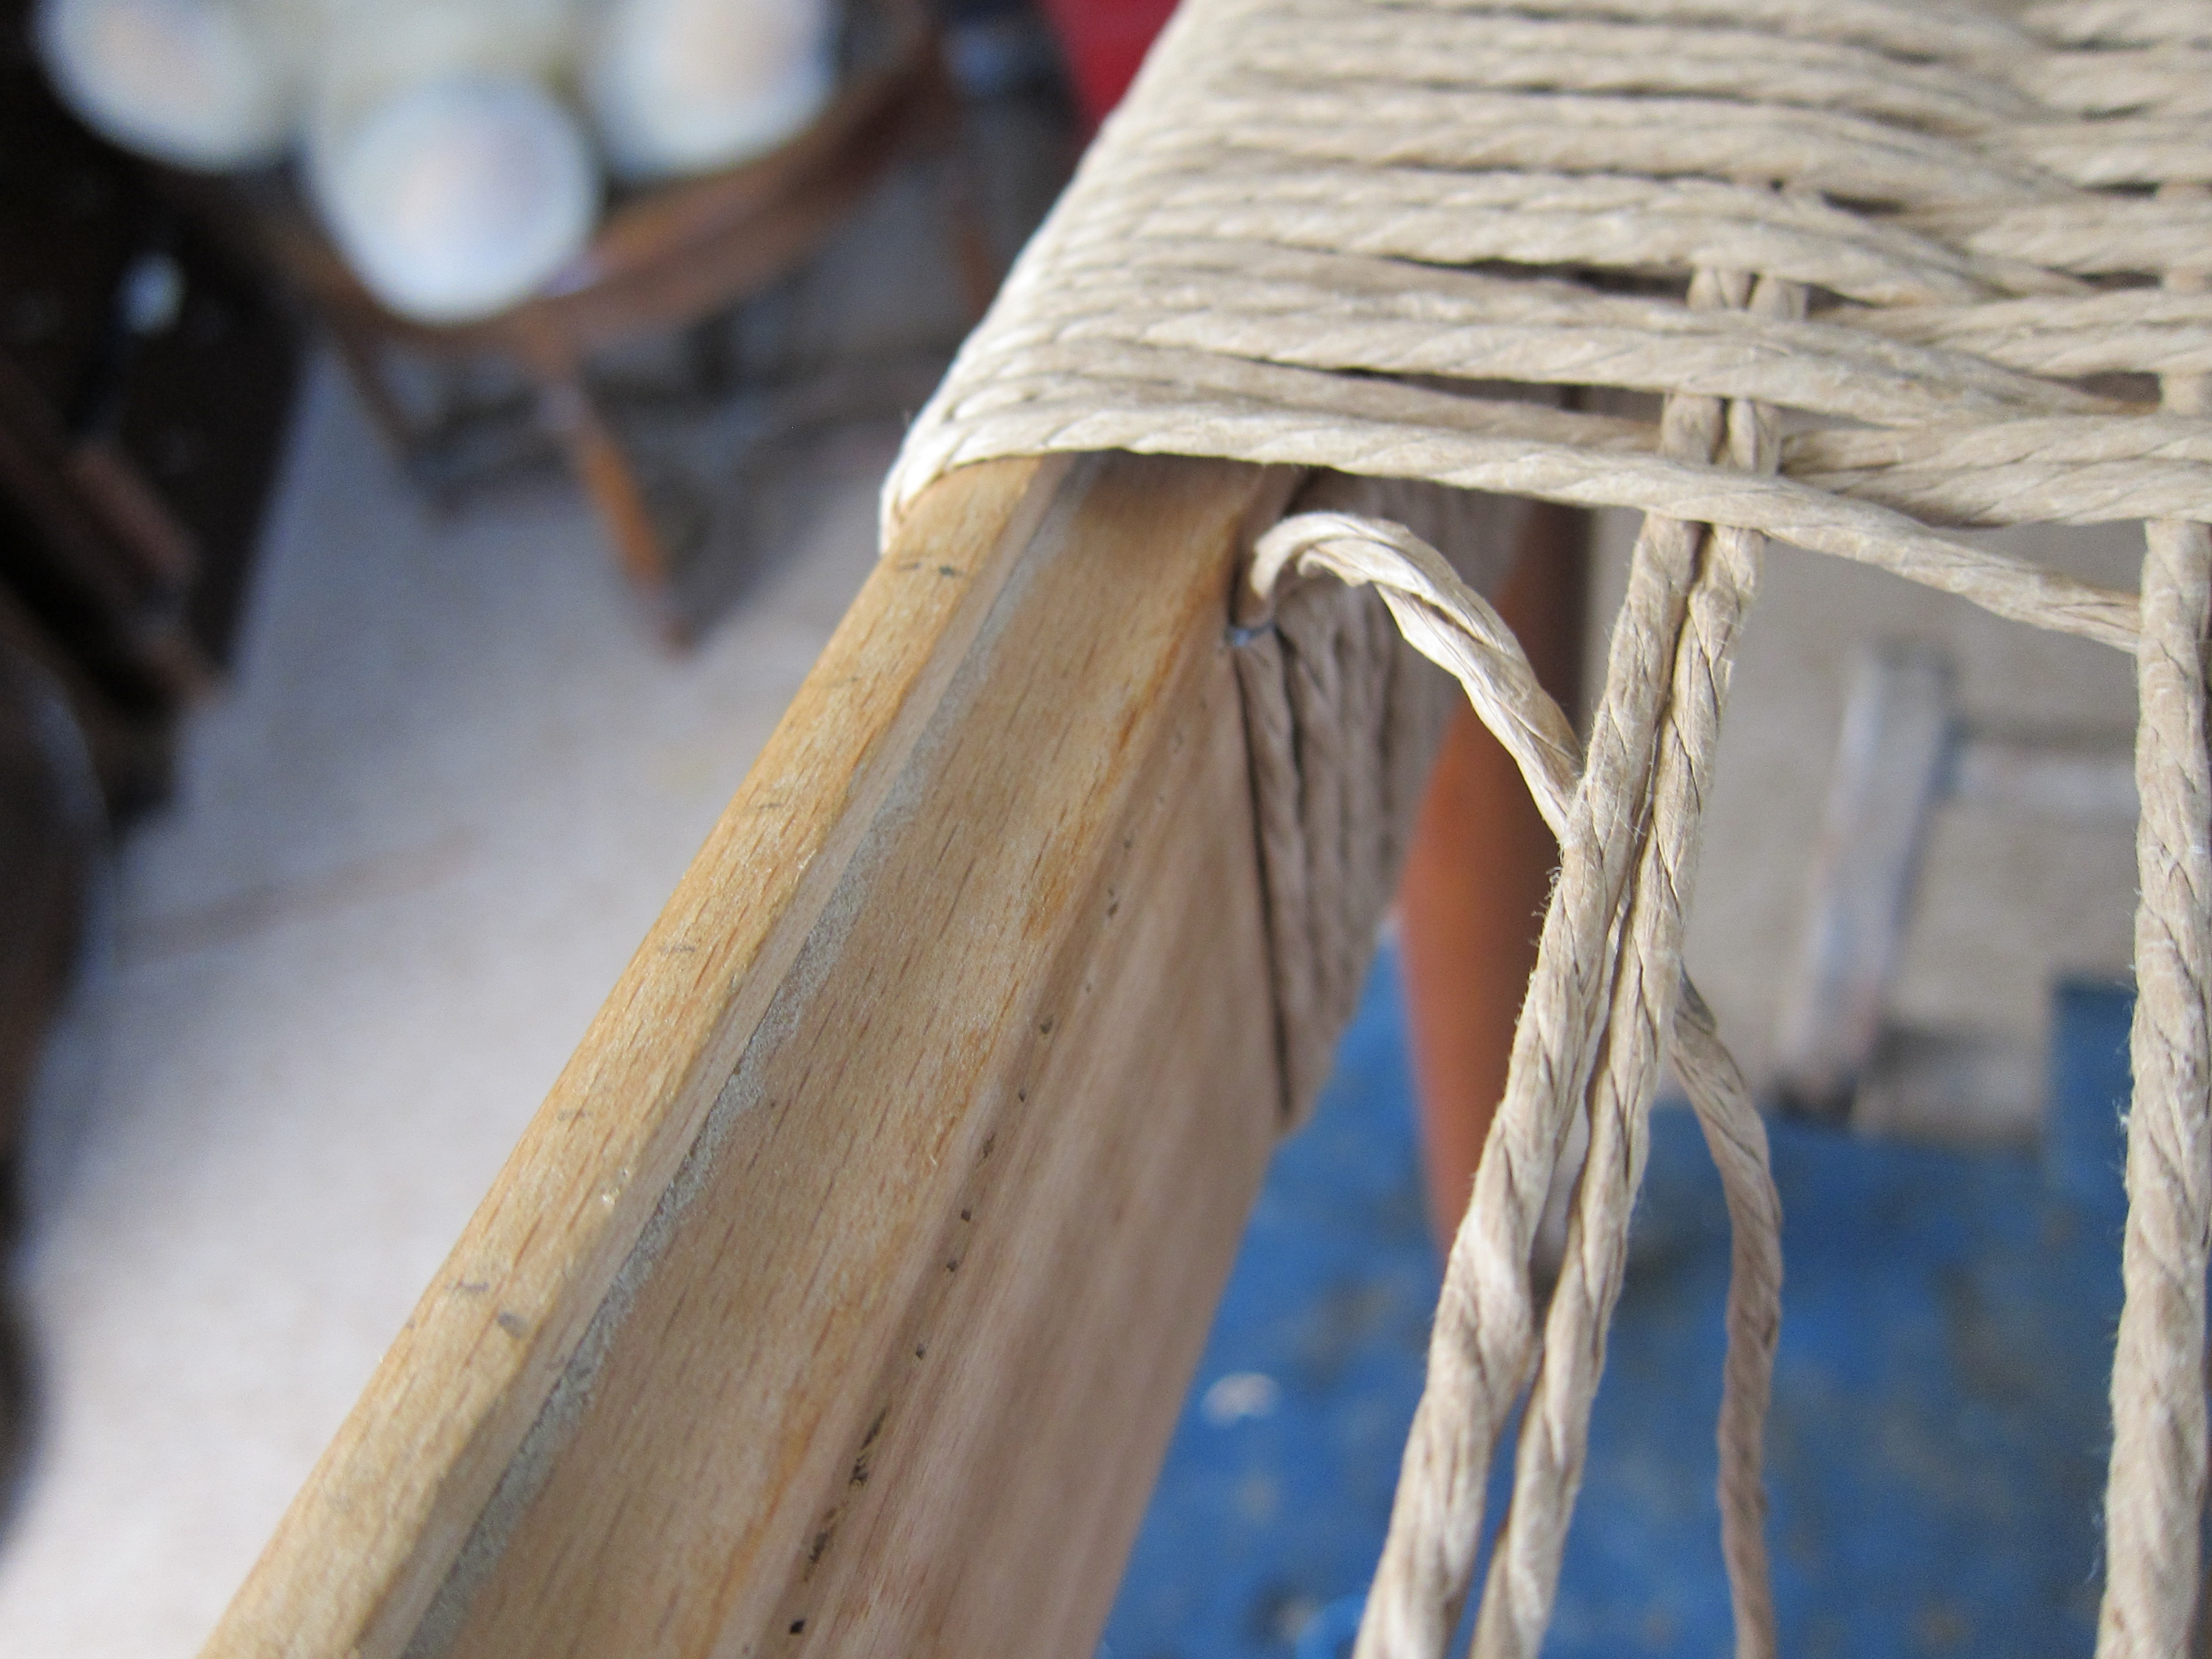
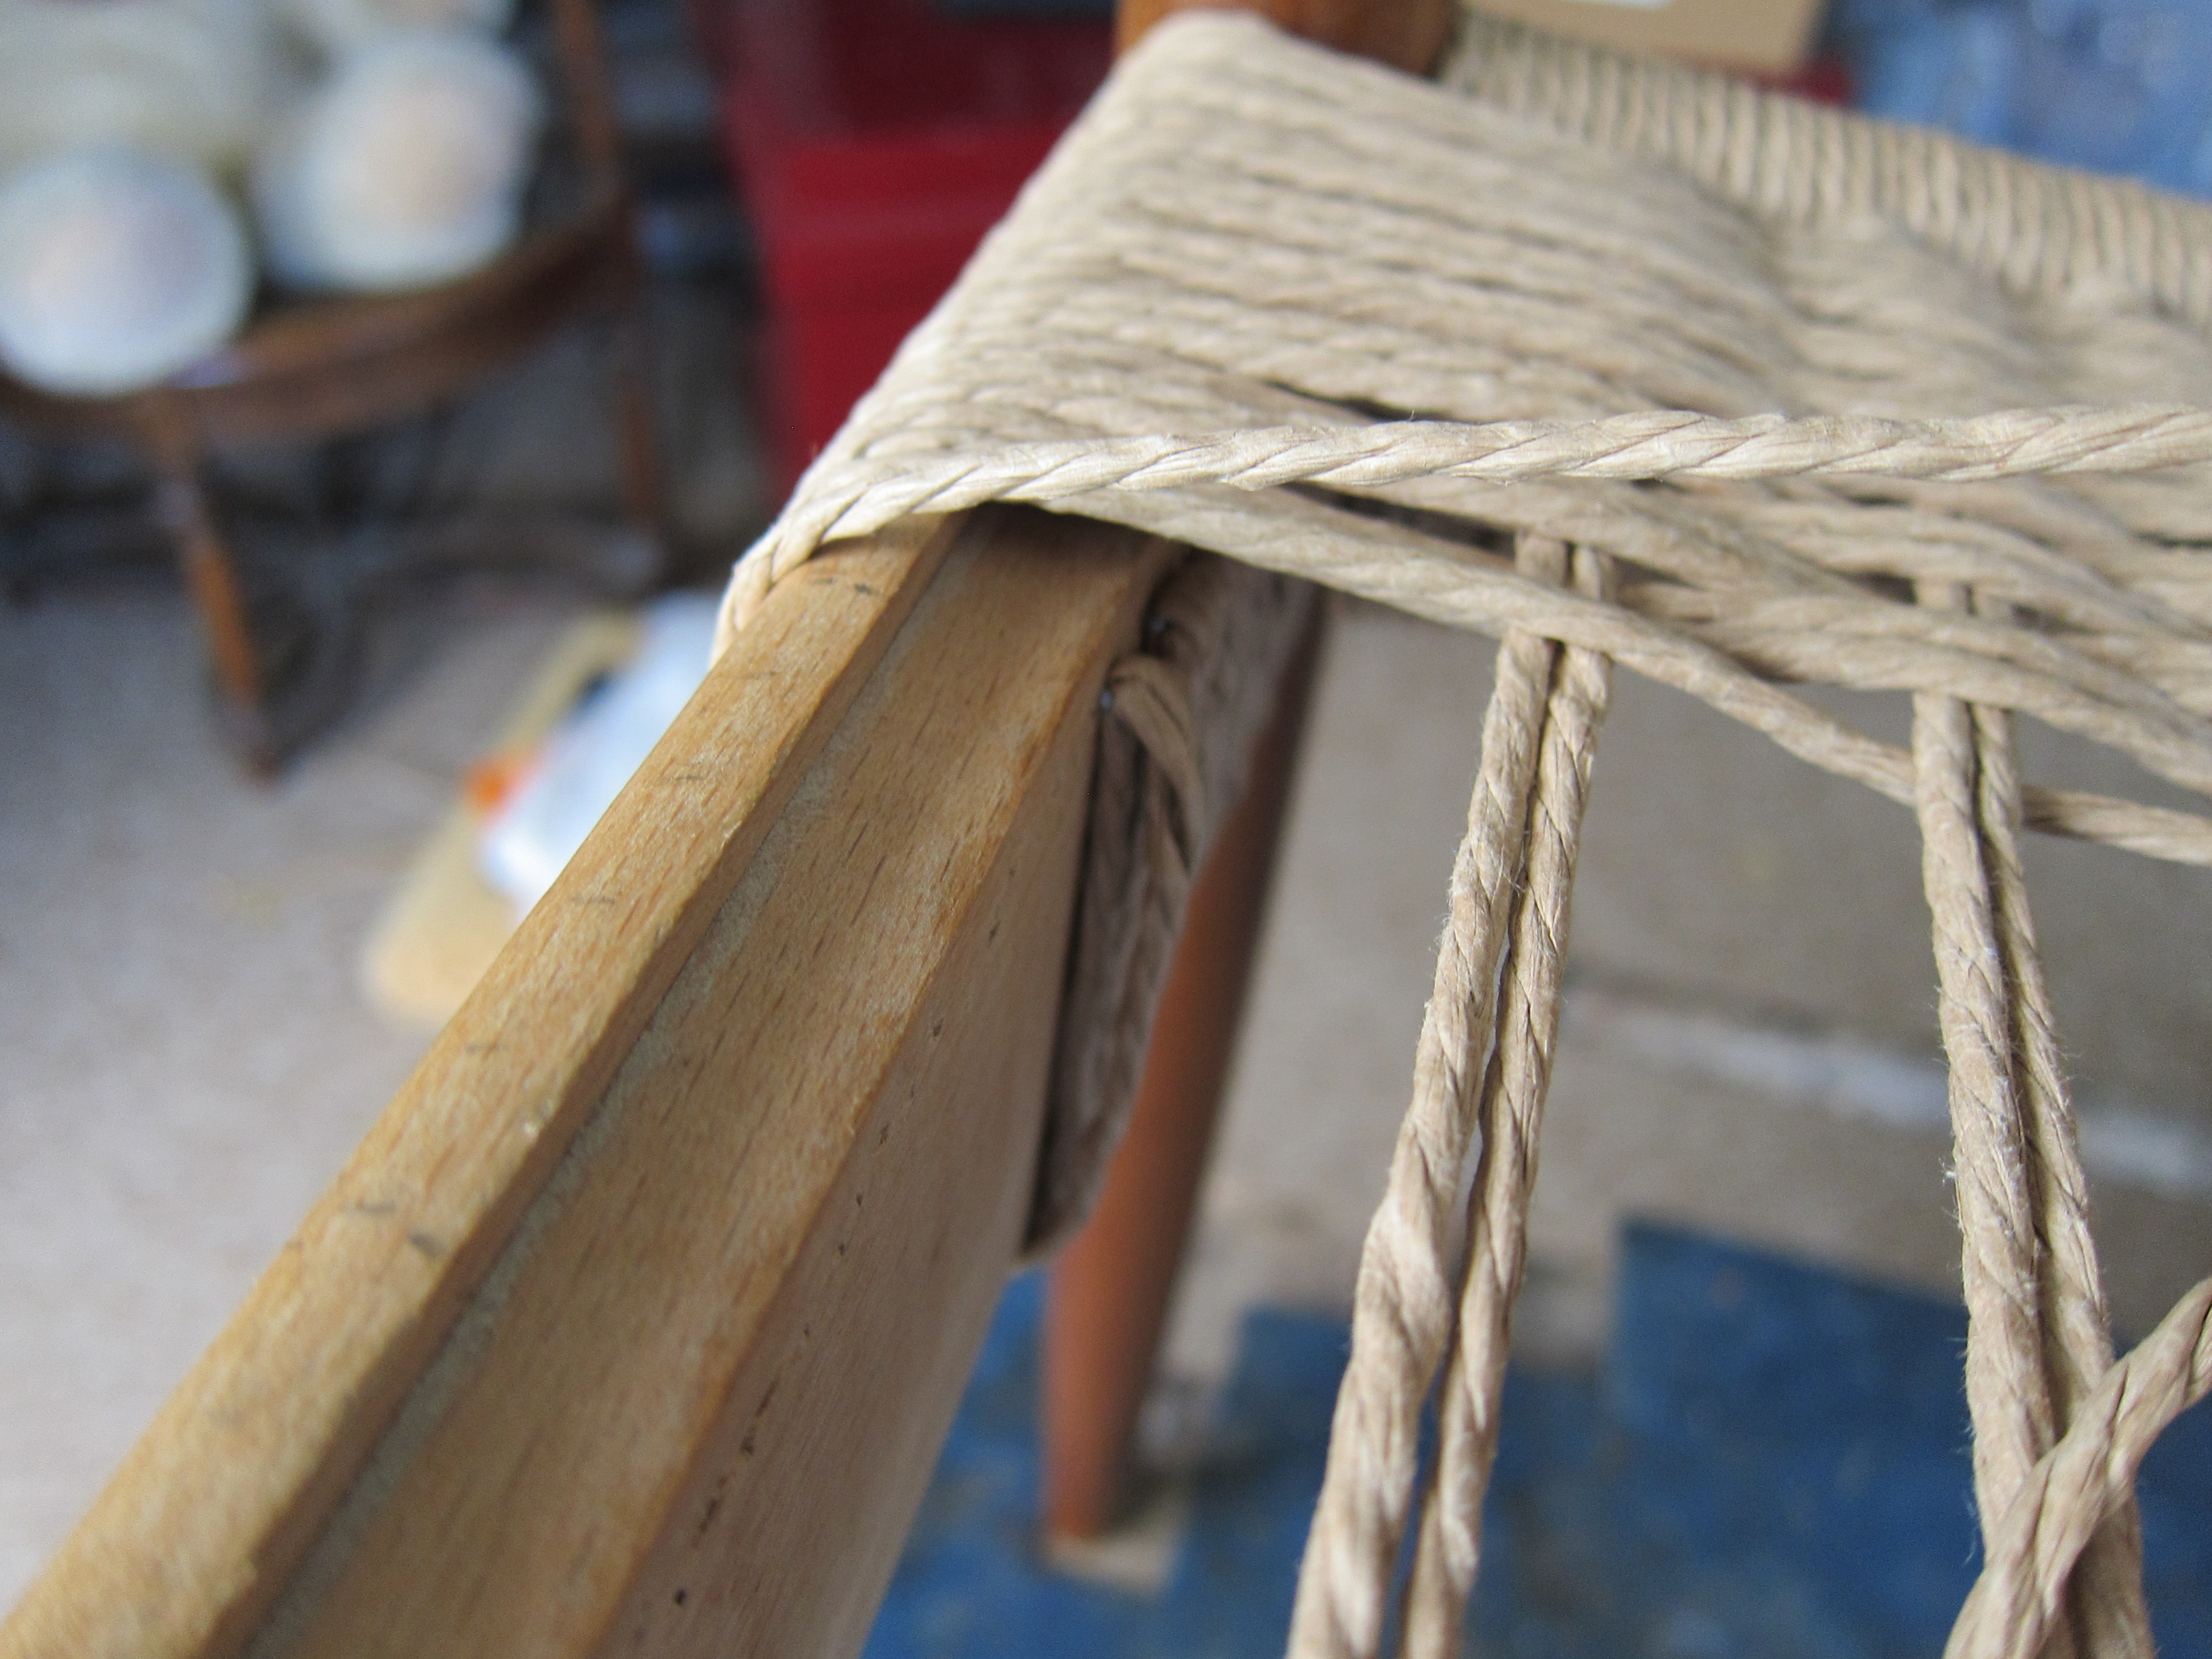
Cord is bend back down over the new staple.
You may need to twist it a bit to keep it in shape. |
Cord bent down over the staple and pulled tight. |
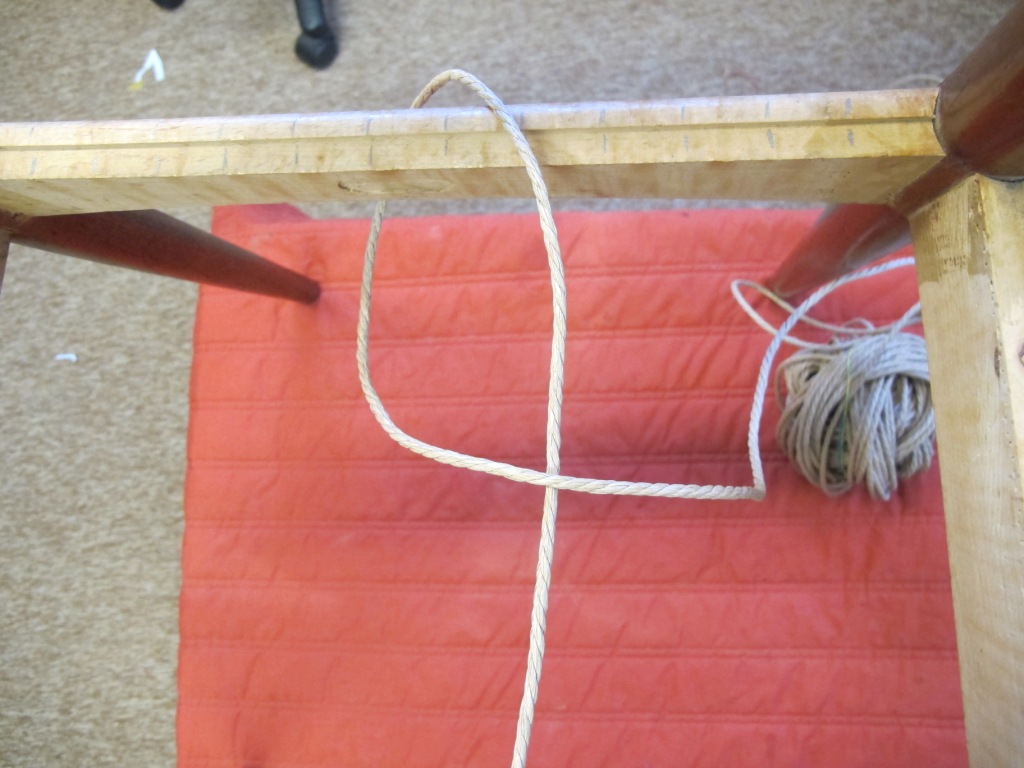
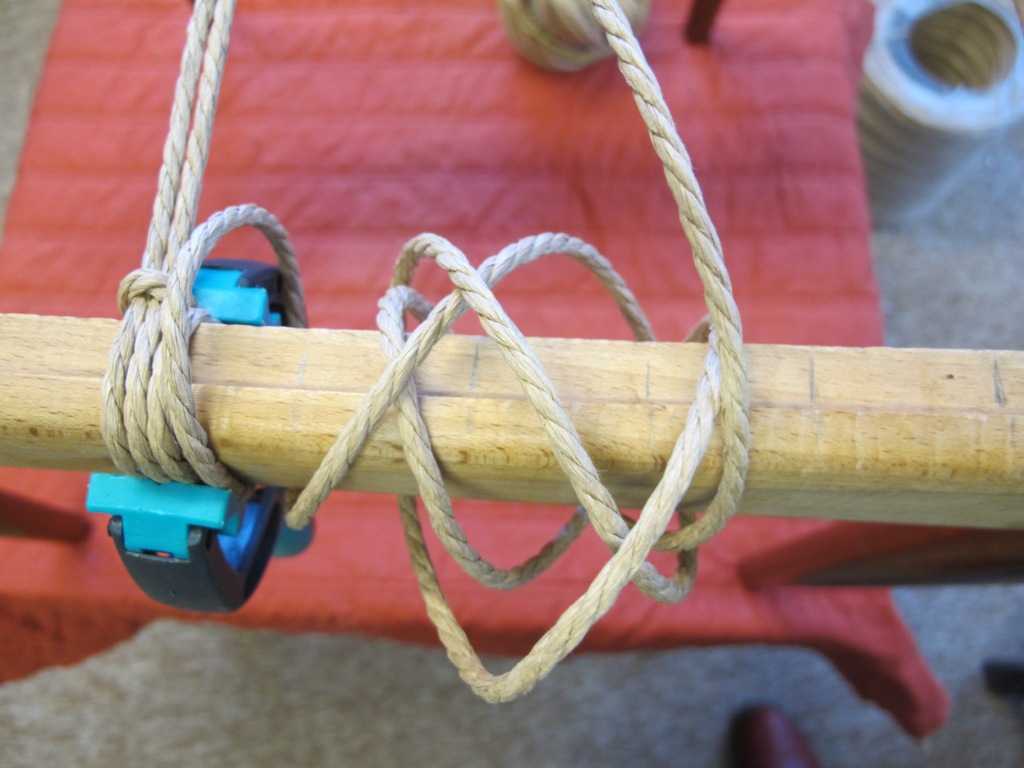
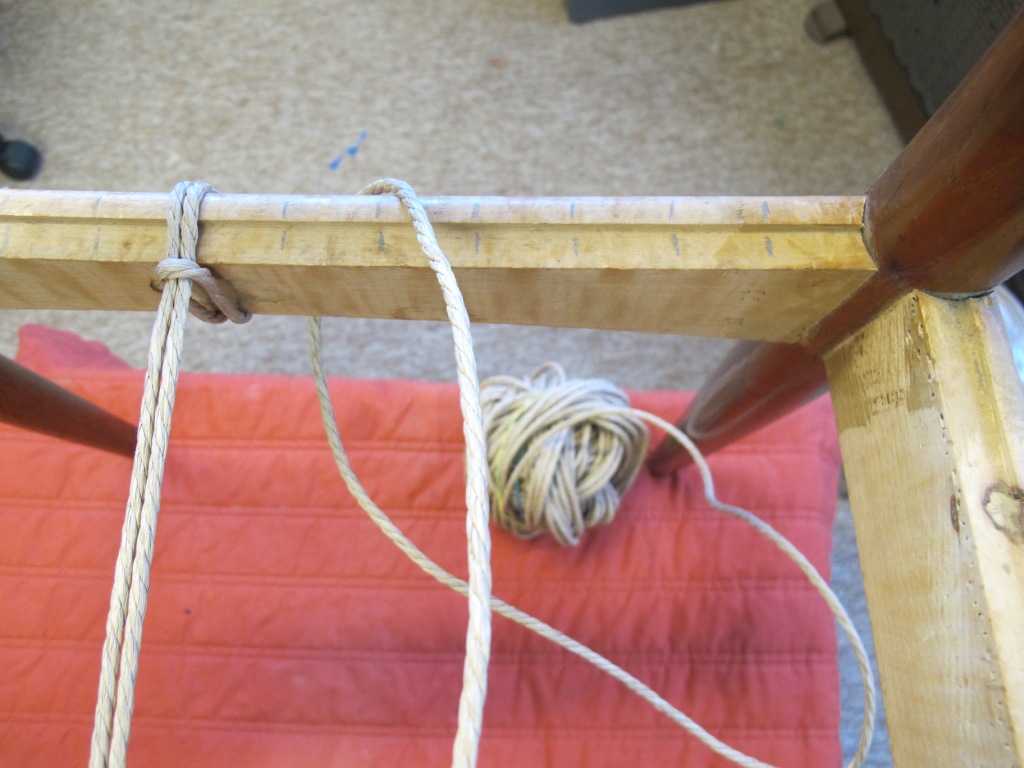
This bit of the cord now becomes the front half of the pair of wefts and is pulled back to go over the RH rail. |
|
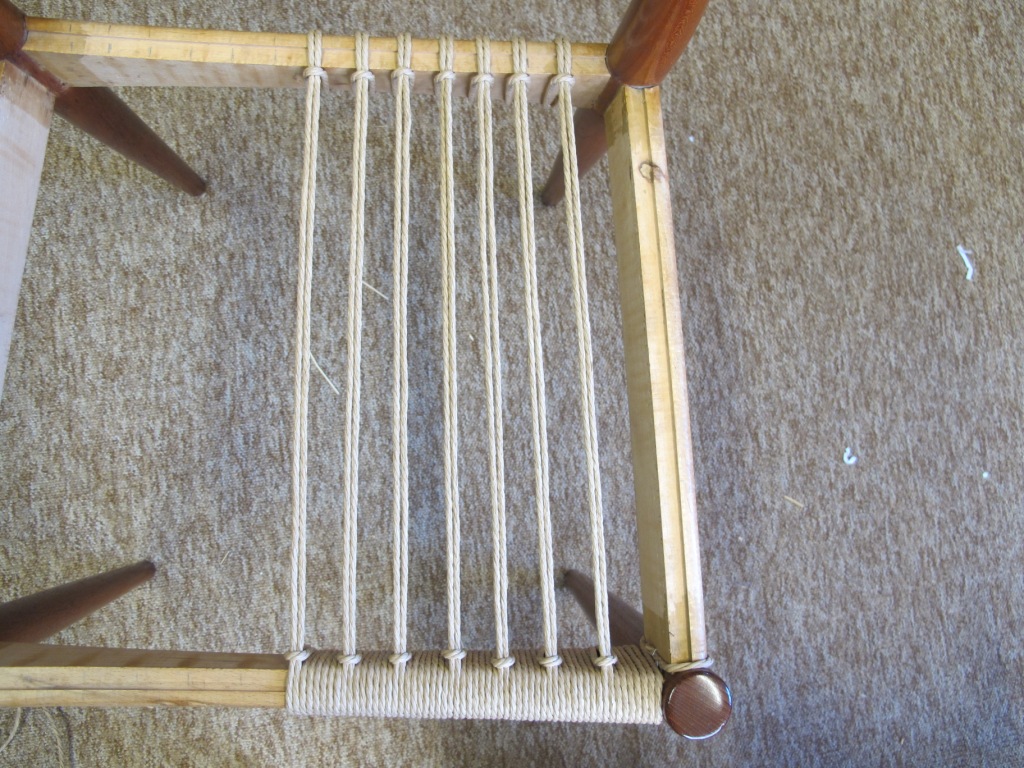
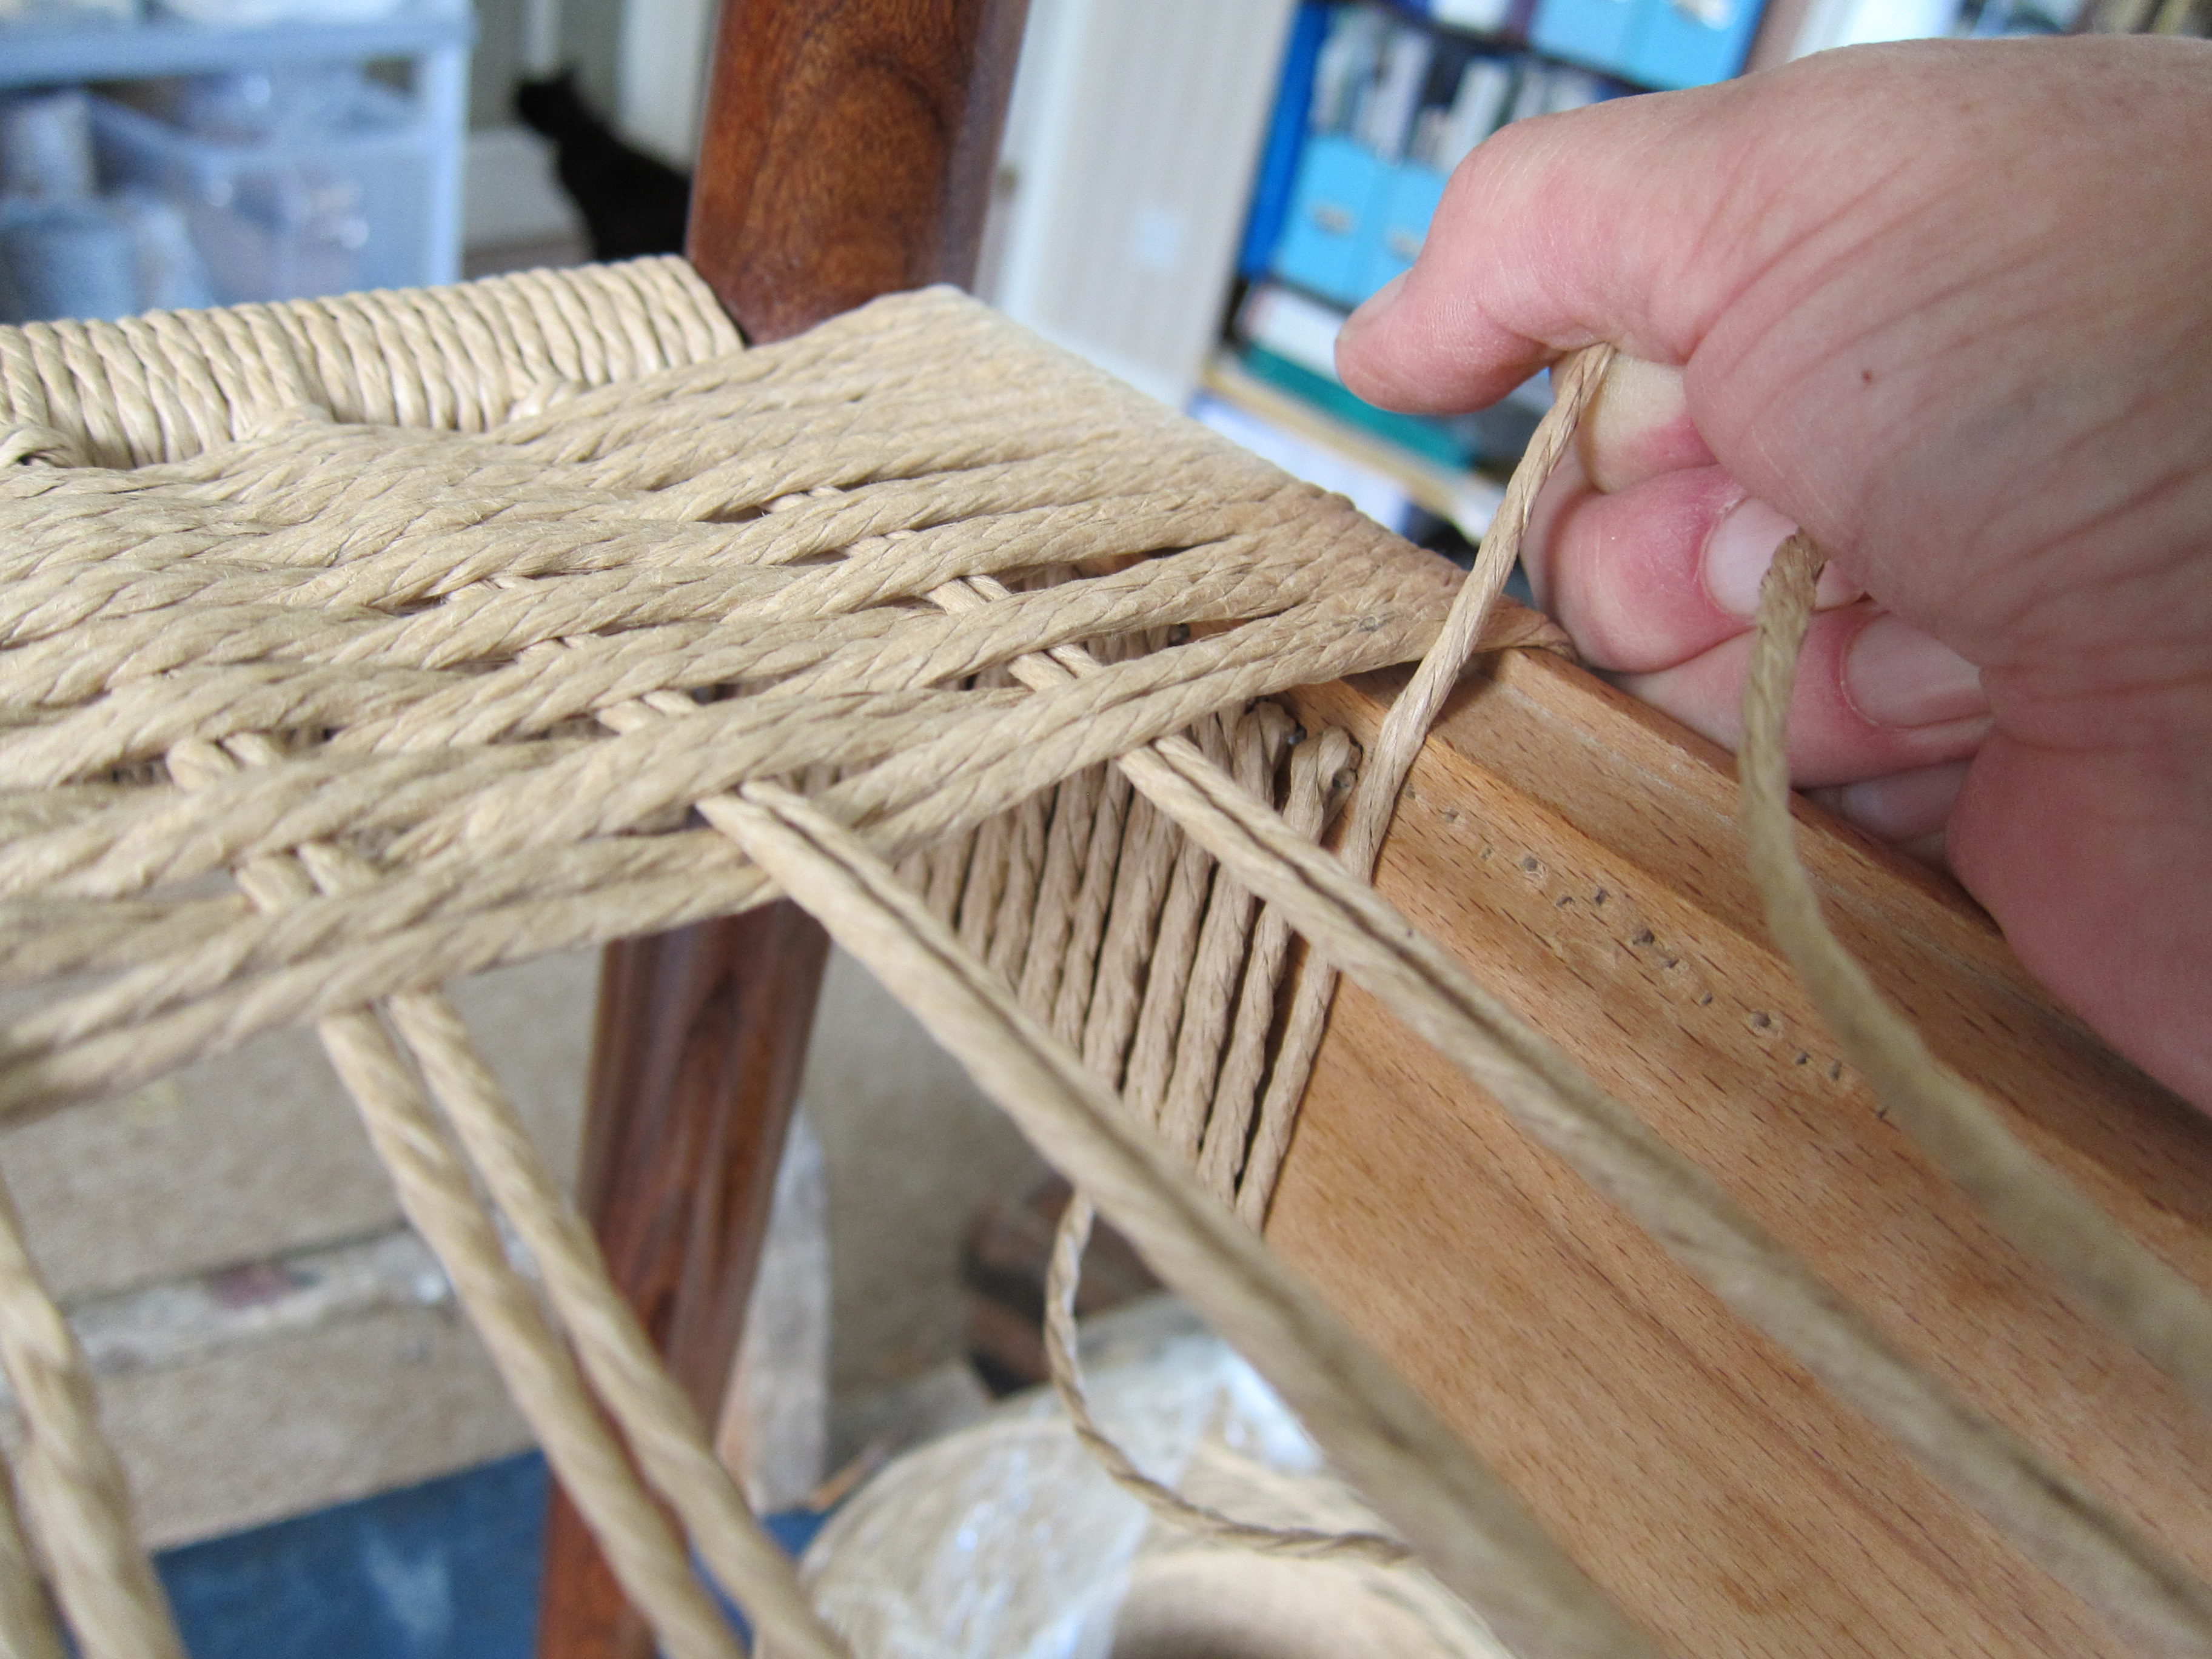
Over the RH rail and up for stapling. |
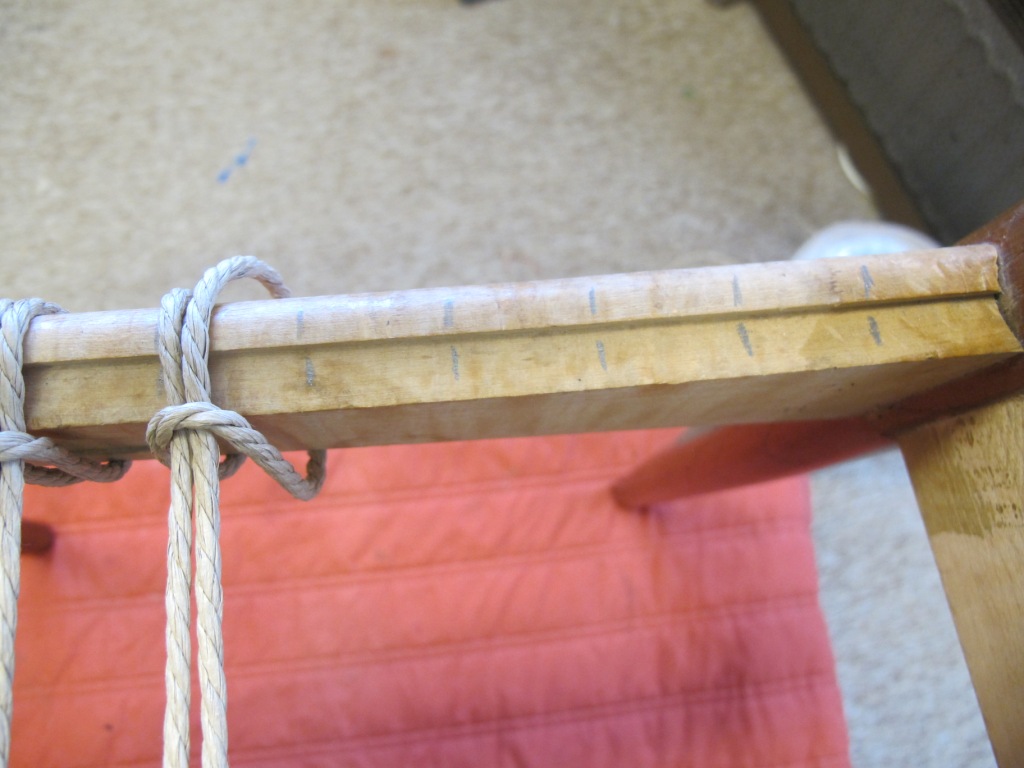
Staple put in across RH cord. |
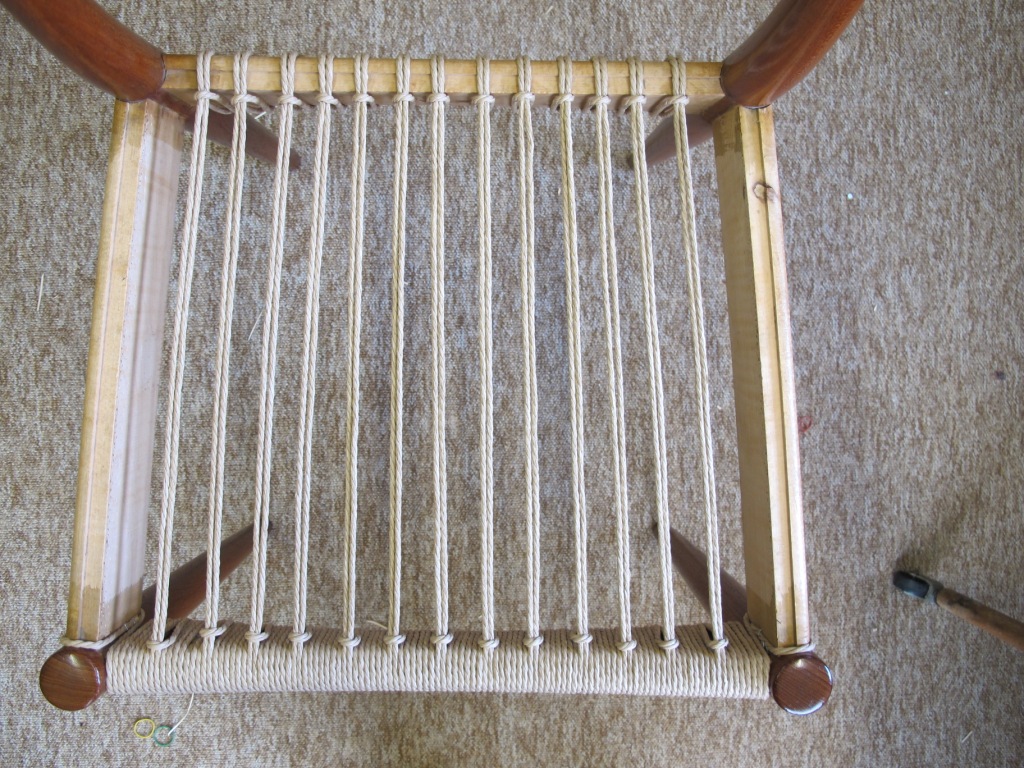
Cord stapled and taken back up to the outside to form a new pair of wefts |
|
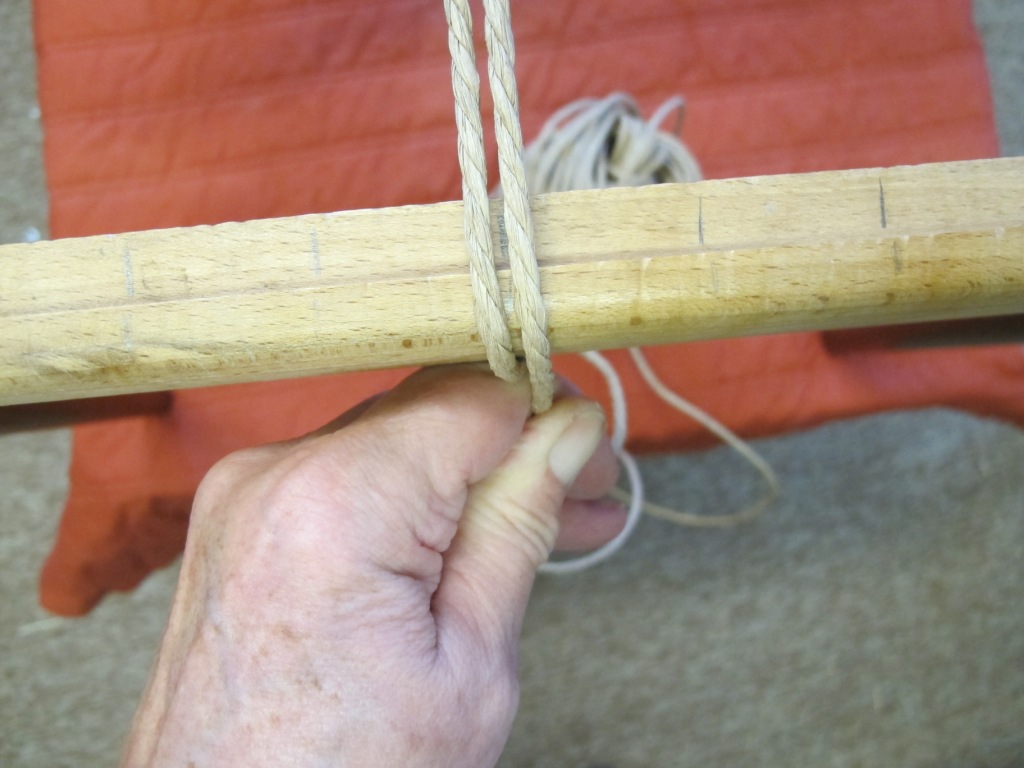
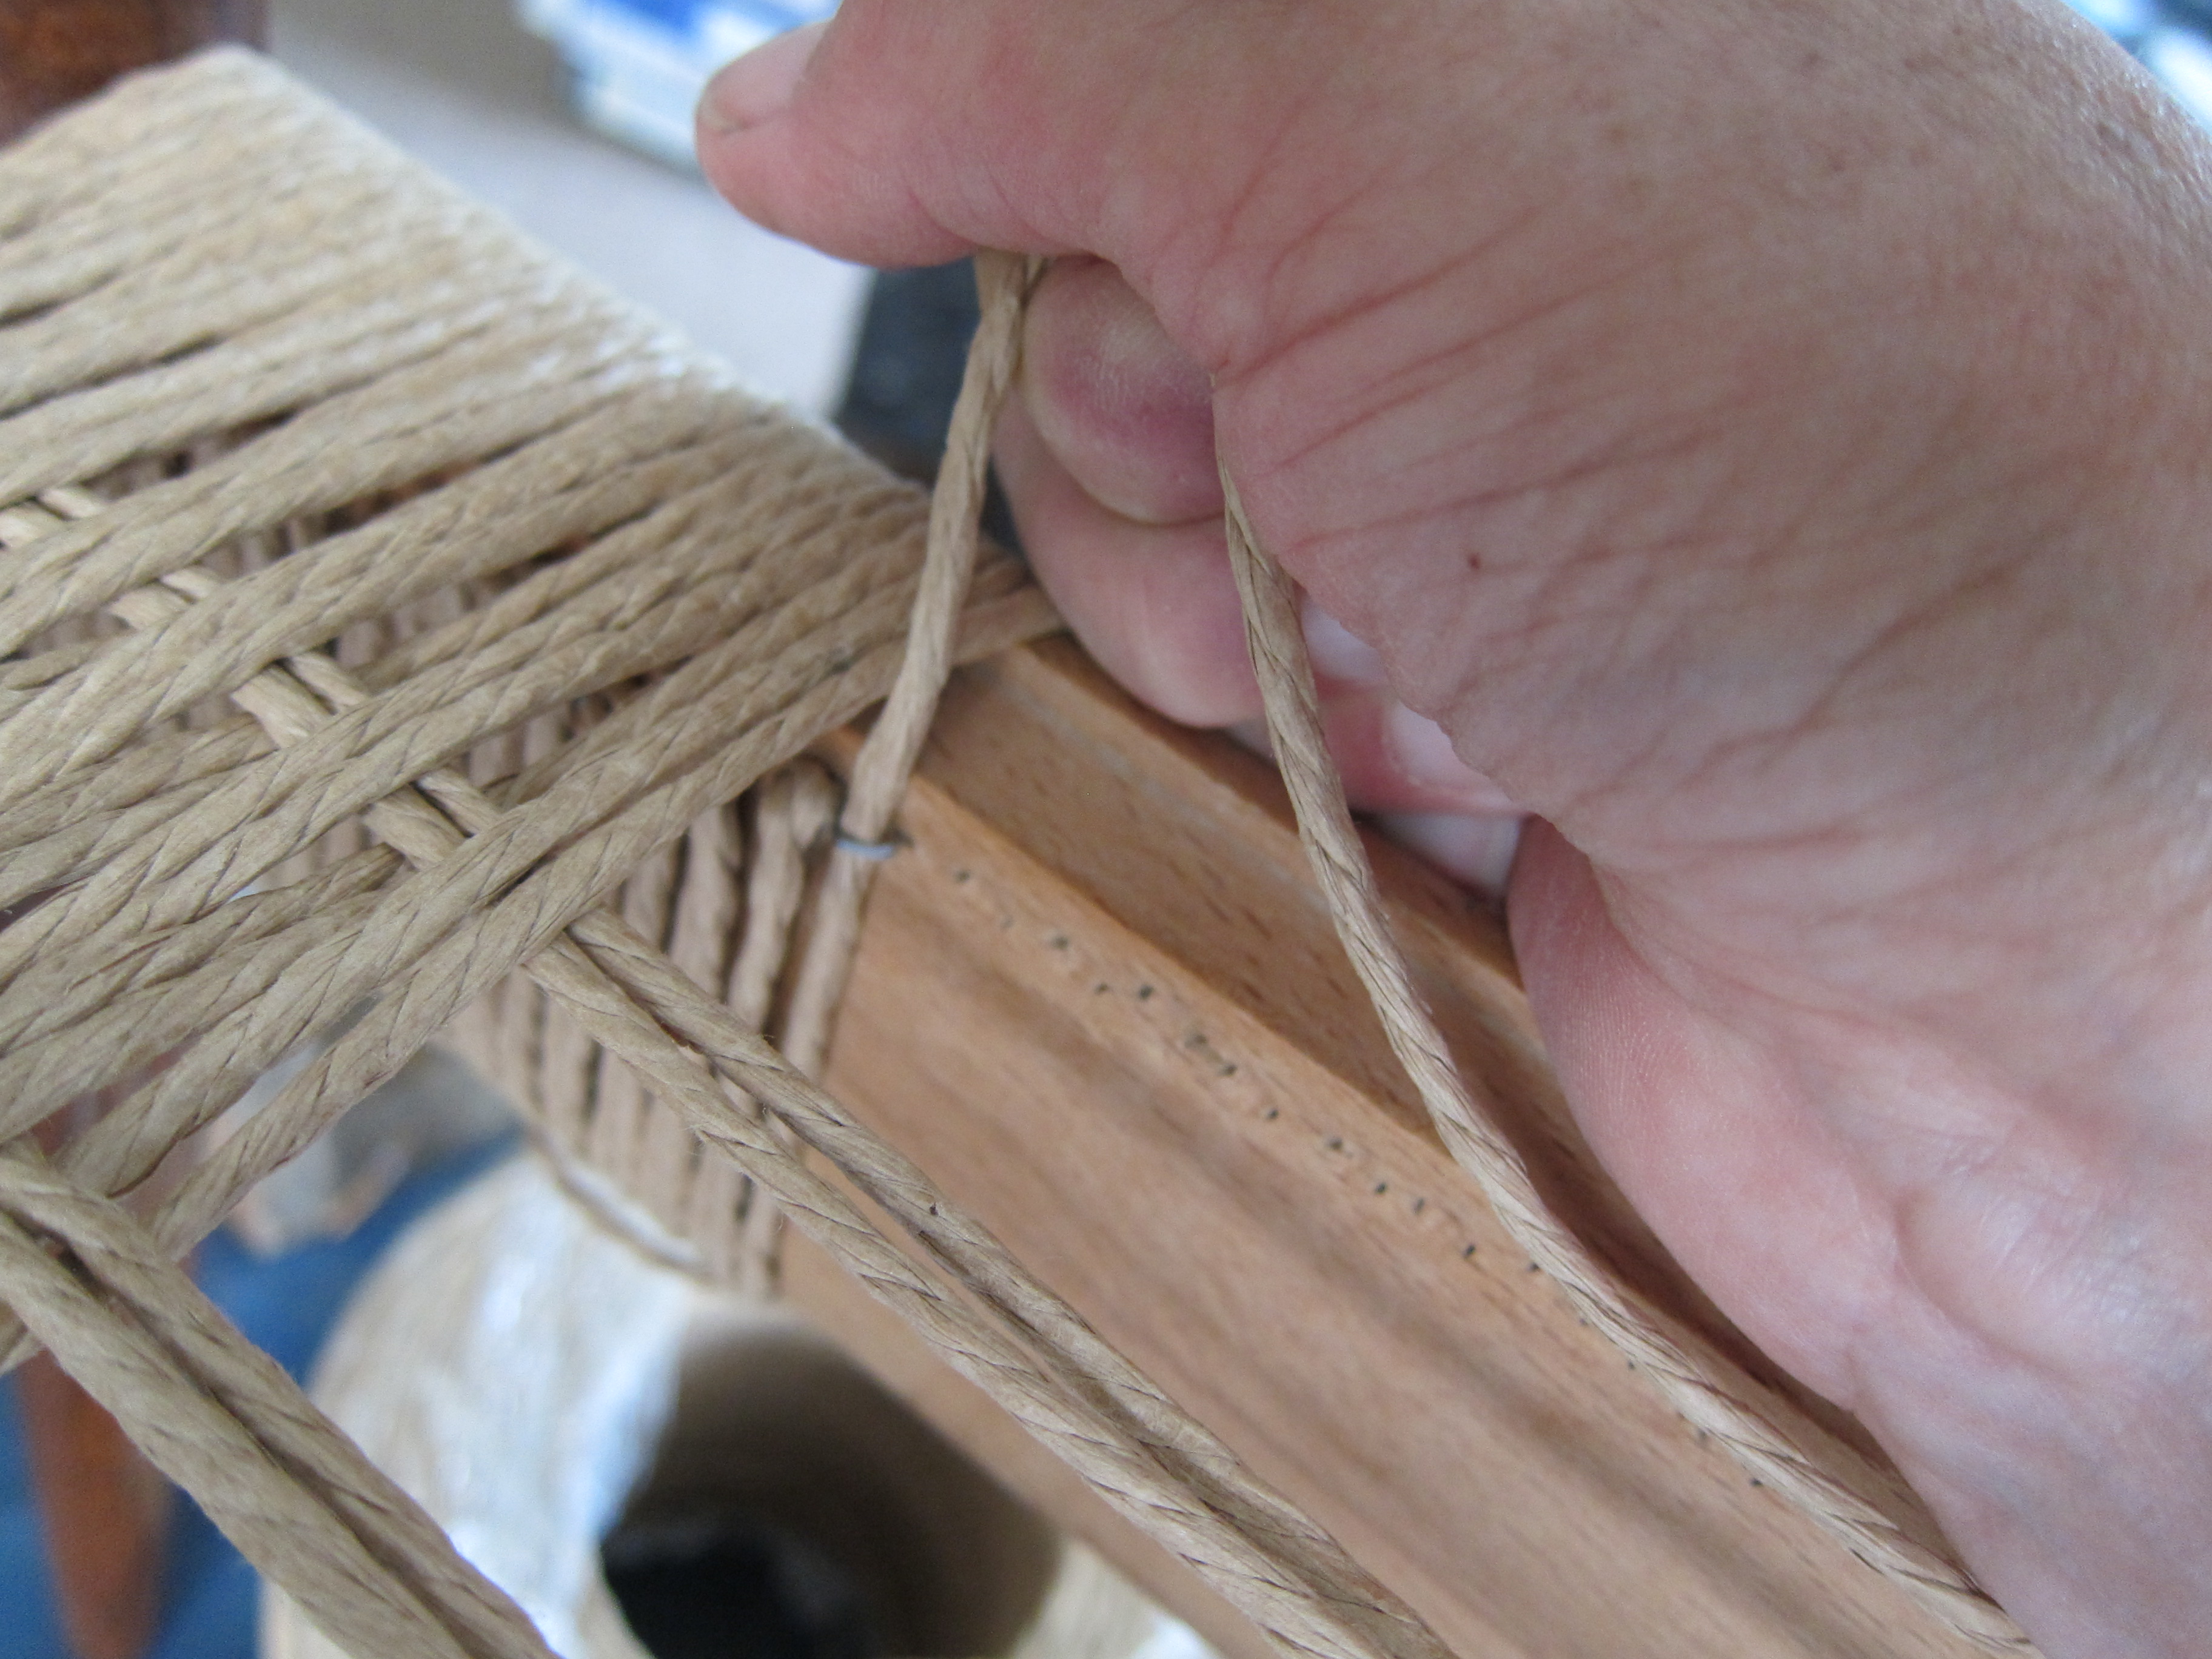
It is also possible and, as the weaving progress, easier, to do the stapling from the top.
Holding it the other way around and using the little finger on the trigger. One of the benefits of stapling is that, if you should have one cord too loose, it is possible to tighten and pop in an extra staple! |
||
| I have just finished photographing the doing the first stage and I will put this up asap | ||


|
Glebe Farmhouse, Buckerell, Nr Honiton, Devon. EX14 3EP Mobile: 07790 984824 Email: info@suzandy.co.uk or SuzandyCrafts@gmail.com
|